Table of Contents: Claris Connect Series
- Claris Connect and Amazon Web Services (AWS) – Getting Started
- Using Claris Connect with AWS Simple Notification Service (SNS)
- How to Implement Custom Responses in a Claris Connect Flow
- Claris Connect and AWS S3
- Trapping and Handling Errors in Claris Connect Flows
- How to Integrate Claris Connect with Amazon SES
- How to Create Custom Connectors in Claris Connect
The Claris Platform continues to evolve and expand with impressive momentum, most recently with the launch of Claris FileMaker 2023. Among the many new features in Claris FileMaker 2023, Claris Connect received some interesting attention: a new script step to trigger a Claris Connect flow and the introduction of a free tier for Claris Connect access. It’s now super easy for anyone with a Claris FileMaker license to start playing around with Connect. You can explore how to use this tool in a Claris FileMaker solution to connect to other apps.
Here at Soliant, we’ve been testing Claris Connect for a while. We recently started thinking, as both a Claris Platinum Partner and an Amazon Web Services (AWS) Advanced Tier Partner, that it would be interesting to do a series of blog posts taking a closer look at the AWS connectors that are offered through Connect. In this post, we’ll start with some foundation on Connect and getting set up with AWS.
In subsequent posts, we’ll then explore how to work with three AWS tools:
- Simple Notification Service (SNS)
- Simple Email Service (SES)
- Cloud storage with Amazon’s Simple Storage Service (S3)
Claris Connect: Simplifying API Orchestration
In our roadmapping and development work with clients, it’s becoming rare for there NOT to be an API integration in the mix. More often than not, the businesses we work with rely on (and juggle) various applications and services to accomplish what they need. Many have invested money/training/data into one or more platforms to accomplish specific tasks (e.g., accounting, email, payment processing).
With Claris FileMaker, we have robust tools to integrate with these platforms via an ever-growing number of APIs. However, this presents a new challenge: how to best coordinate multiple APIs to ensure seamless data flow and communication within the solution as a whole.
Since its introduction in 2019, Claris Connect has emerged as a powerful cloud-based tool for API orchestration. It supports a wide range of popular applications and services, simplifying the task of connecting APIs and allowing organizations to leverage their preferred software stack. A hub for your API spokes, if you will.
Signing up for Claris Connect
Claris Connect has now rolled out a new free tier to make it easy to get started. In terms of capability, the free tier has everything that is included in Claris Connect. The only difference is that you are limited to 500 calls per month (each step within a “Flow” counts towards that limit). This is a great way for folks to be able to start tinkering and learning the platform at no cost. We found signing up to be clean and easy.
Once you’ve logged into your Claris Connect account, you’ll find a simple interface. Here, you can add a new Project and start building “Flows.” These are sequenced tasks performed by different apps and utilities – i.e., connectors – that together form a complete workflow.
Connect provides a wide collection of pre-built connectors and templates for various applications and workflows. Focusing just on AWS, you’ll find connectors for:
- AWS Lambda
- AWS Simple Storage Service (S3)
- AWS Simple Queue Service (SQS)
- AWS Simple Email Service (SES)
- AWS Simple Notification Service (SNS
You’ll be able to see all the available connectors to choose from as you start a new Flow. The five from AWS are listed in the “Apps” category. Some App icons are faded at this point, signifying they can’t be used as the first step a Flow.
To get a complete picture of how Flows and other mechanics of Claris Connect work, we recommend watching the training videos offered in the Claris Academy.
Setting up your AWS Account
As luck would have it, AWS also offers a free tier service. This essentially allows users to try out a huge number of products and services for free within a 12-month period and within certain usage limits, depending on the product. Even better, two of the three services that we are exploring – SNS and SES – happen to be in the “Always Free” category with no 12-month limit.
Step 1: Sign Up
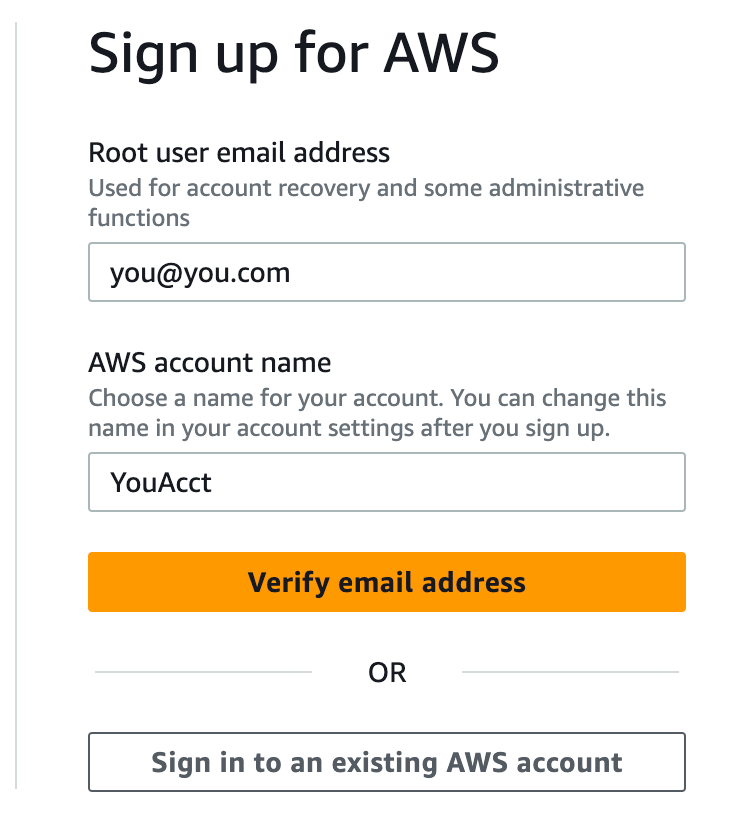
Start by going to https://aws.amazon.com/free/ to start a free account. Here, you have the option to use an existing Amazon account if you already have one under your email address. Or, you can create a new one with a different email address.
The prompts then lead you through a straightforward sign-up process in which your email and mobile phone number will be verified. AWS has a detailed documentation page that gives extra explanations for each step.
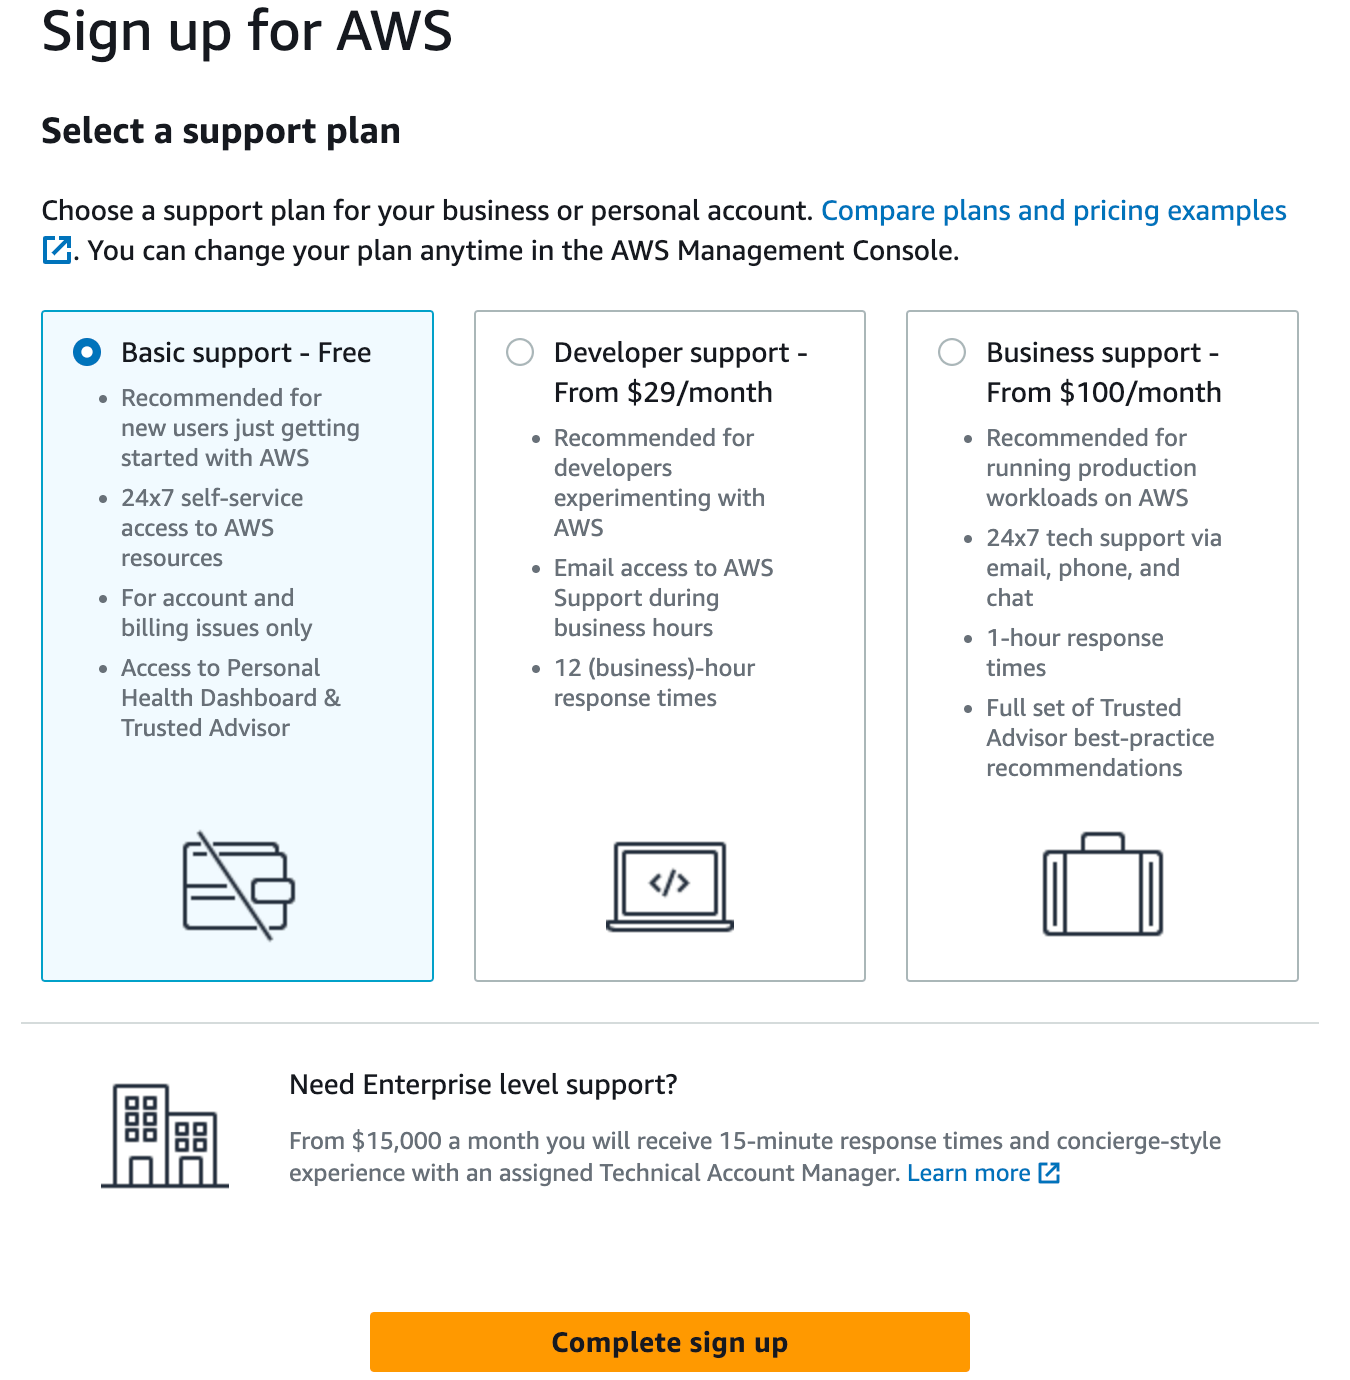
Note that you will need to enter a credit card, but you won’t get charged unless you go over the free usage terms. (You should make sure you’re clear on what those terms are for any service you play with by going to https://aws.amazon.com/free/ and searching in the “Free Tier details” area.) Likewise, make sure you select the free Basic support option to complete your sign-up.
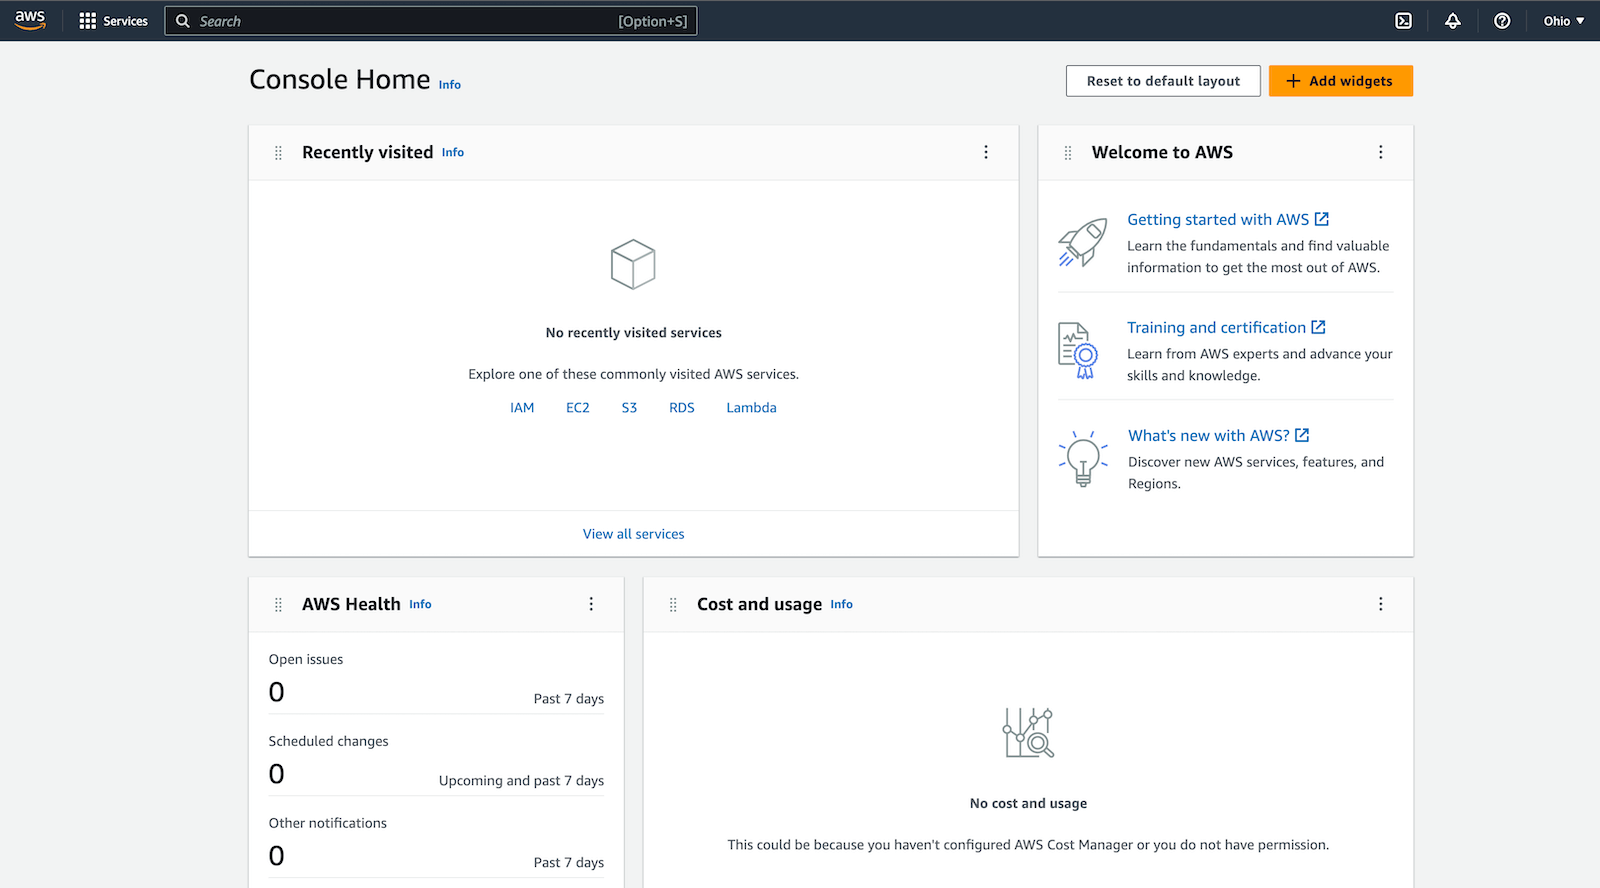
Once your sign-up is successful, you can proceed directly to sign in with the root account that you just created and finally land on your AWS Console.
Step 2: Organize Your Account Access
The credentials you set up when initially signing up for this new AWS account are considered your “root user credentials” and allow full, unrestricted access to your entire account. For this reason, you should safeguard these carefully and NOT use them for everyday access to your AWS account.
We also recommend turning on multi-factor authentication (MFA) for your root user account. Then, from the AWS Console, you’ll head over to Identity & Access Management (IAM). This provides a system for creating dedicated users, user groups, and permissions. You might see a quick link for this on the dashboard. Or you can just type “IAM” into the search box at the very top.
Create an IAM user with administrator privileges. To do this, first create a User group by going to “User groups” in the left navigation under Access Management. Click “Create group.”
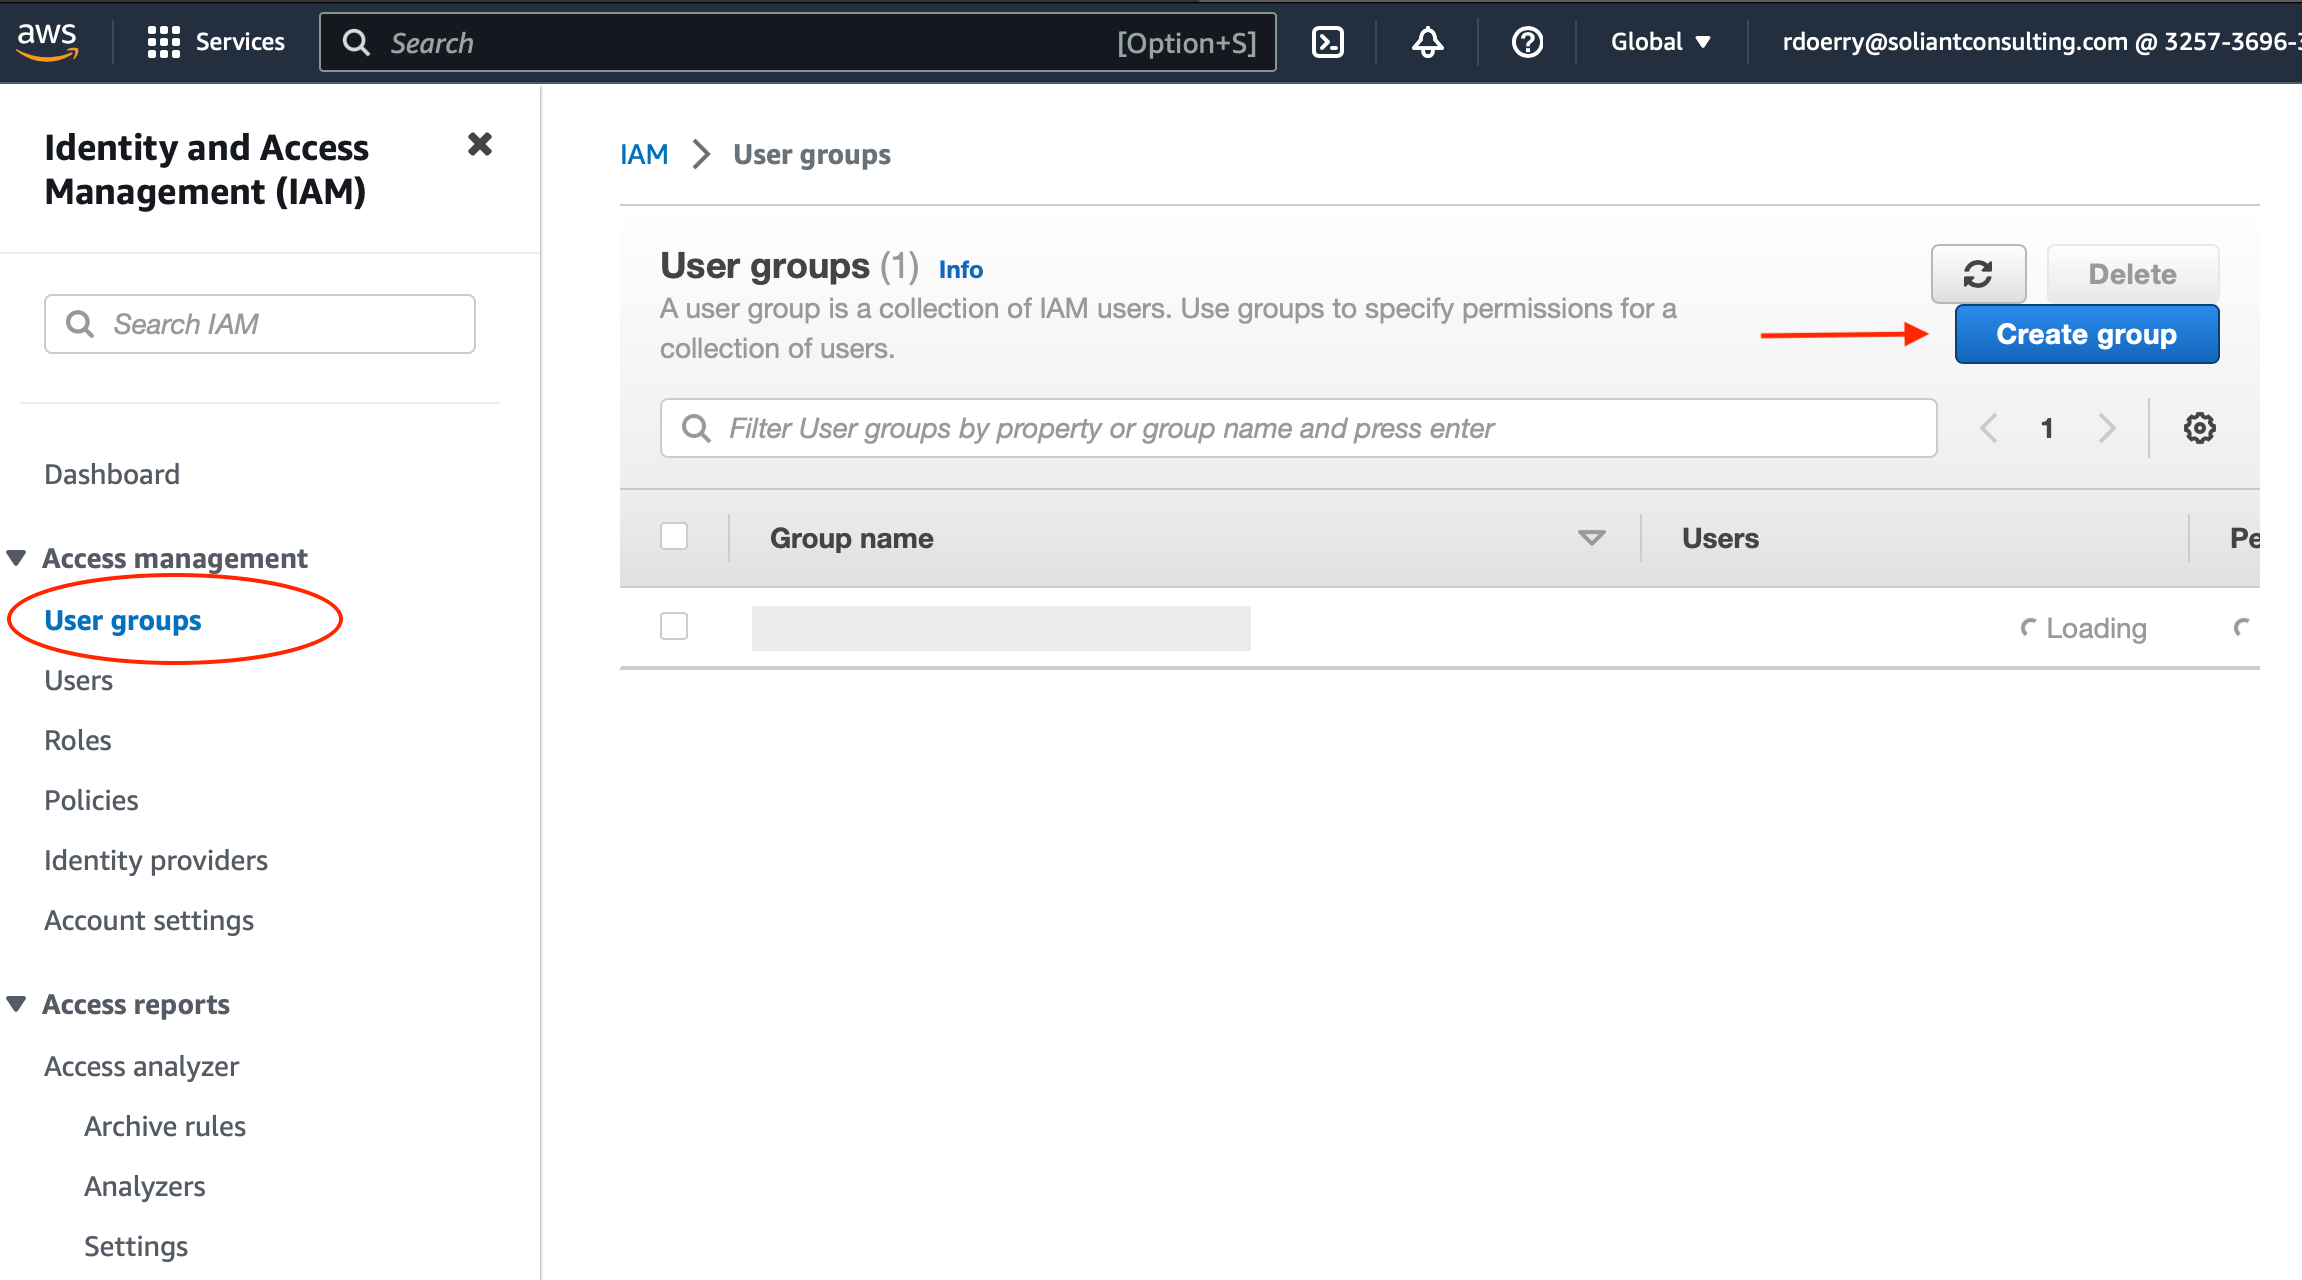
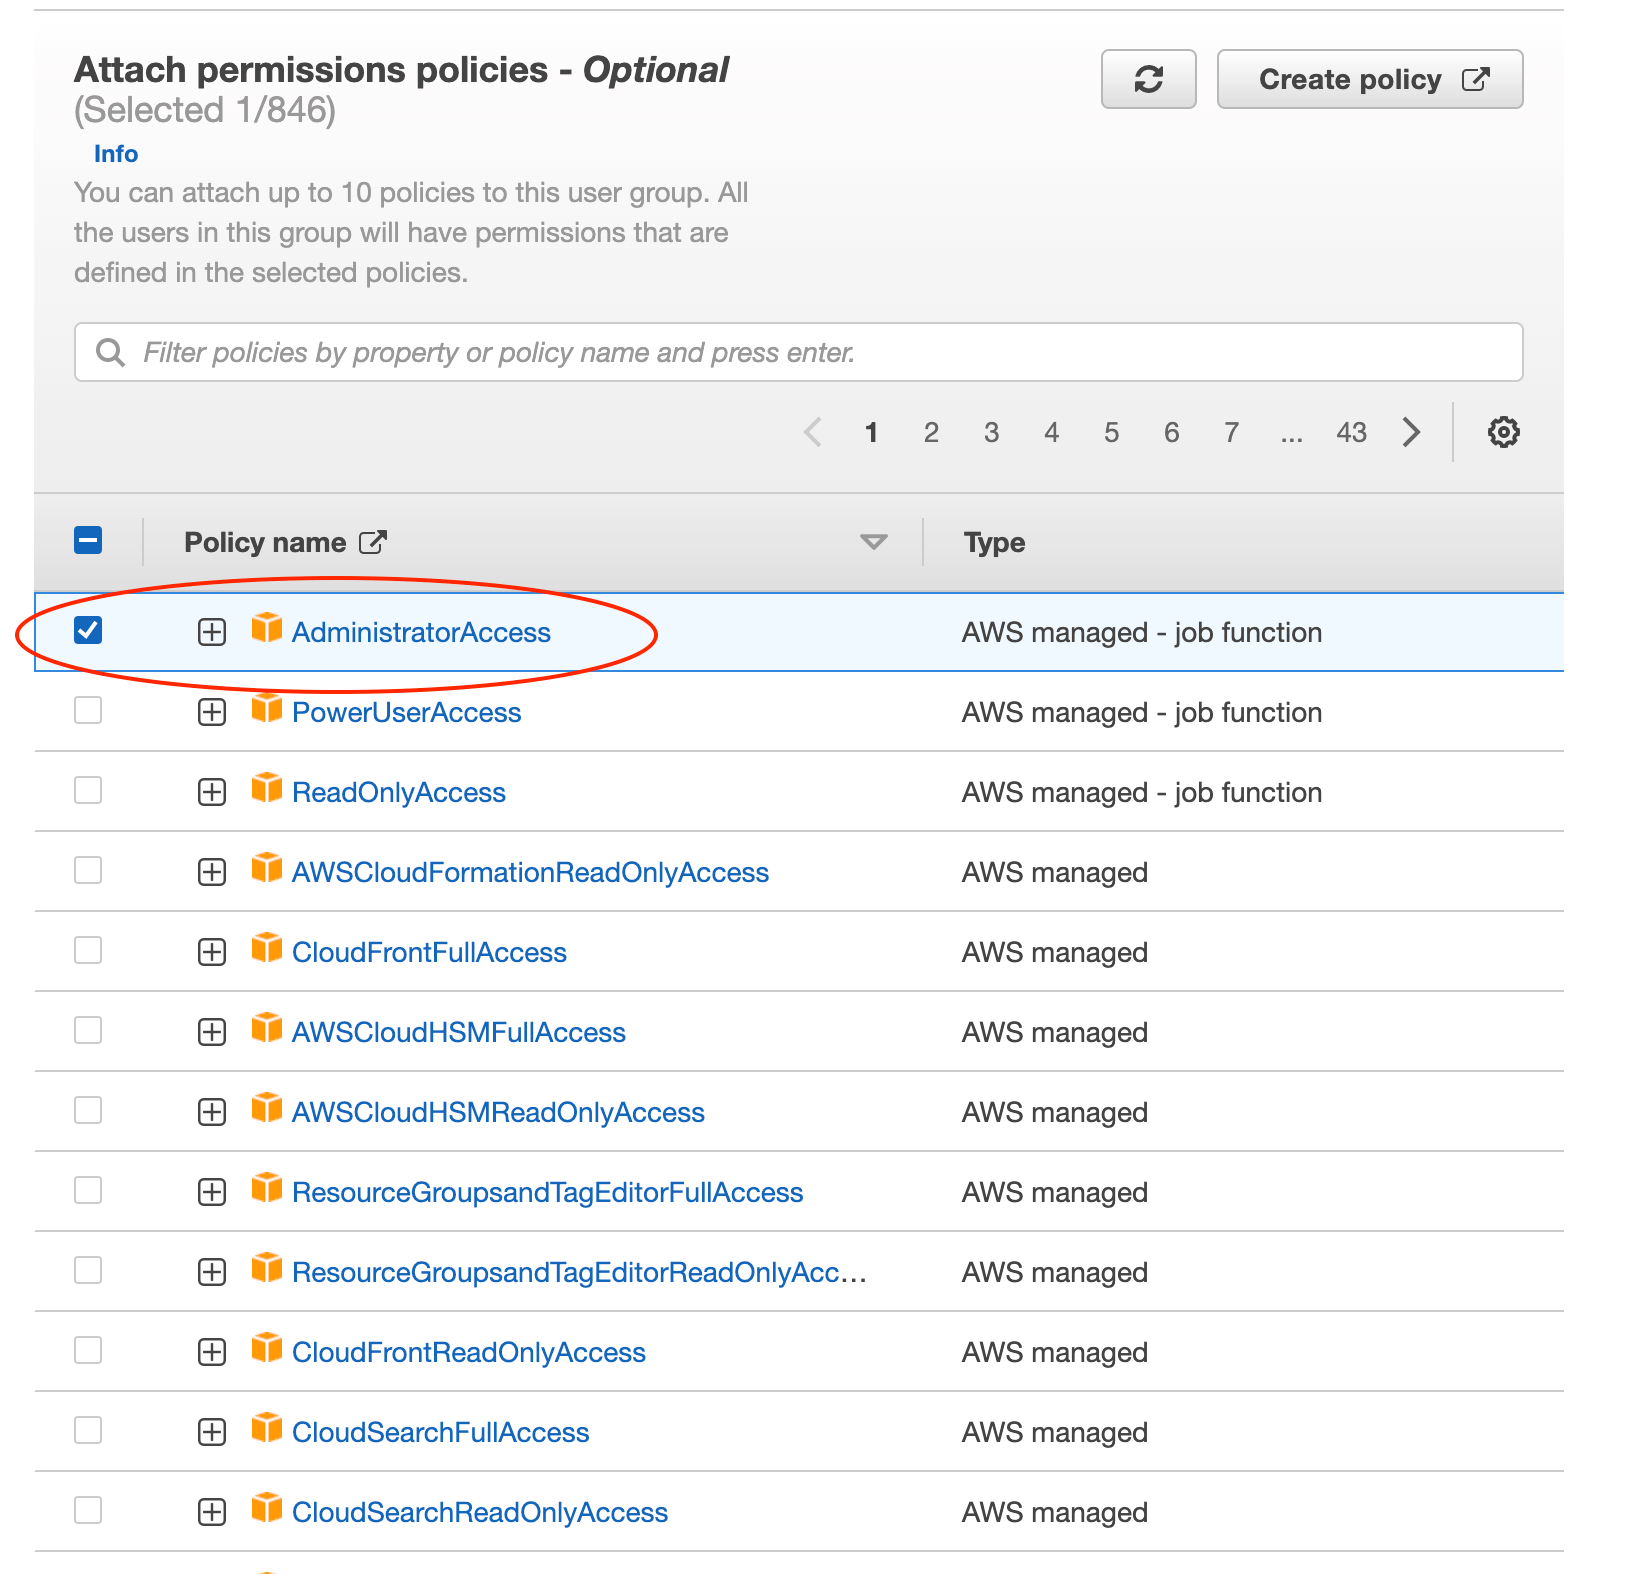
This will be handy if you ever want to add other users as administrators and manage privileges all at once. “Administrators” would be a fine name for this group. Now scroll down the page to the permissions section. Select the “AdministratorAccess” template policy to attach it to the group. Then click “Create group” at the very bottom.
Once you have the Administrator group set up, create the IAM user by clicking “Users” on the left and then “Add users.” When specifying user details, choose a name for the User. Then check “Provide user access to the AWS Management Console” and select “I want to create an IAM user.”
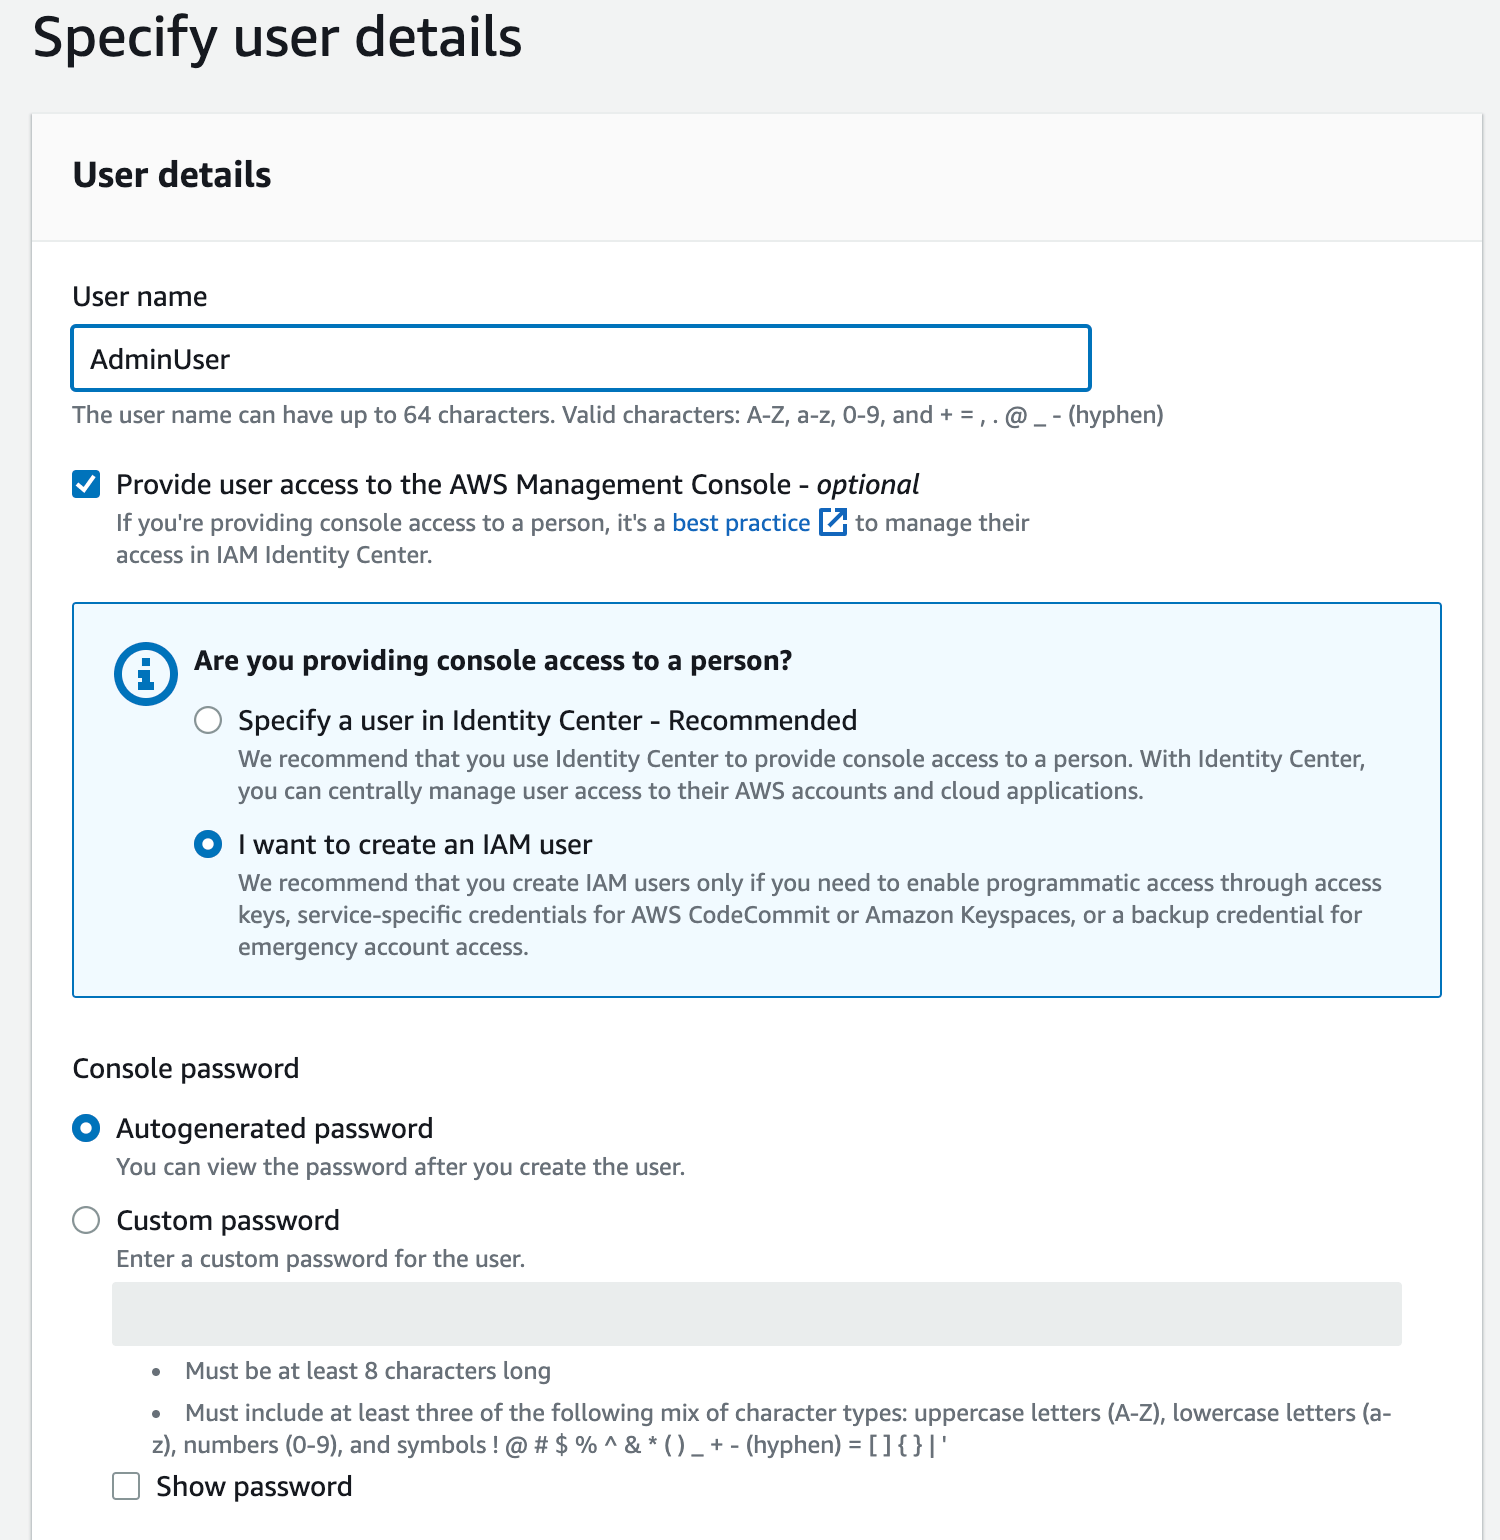
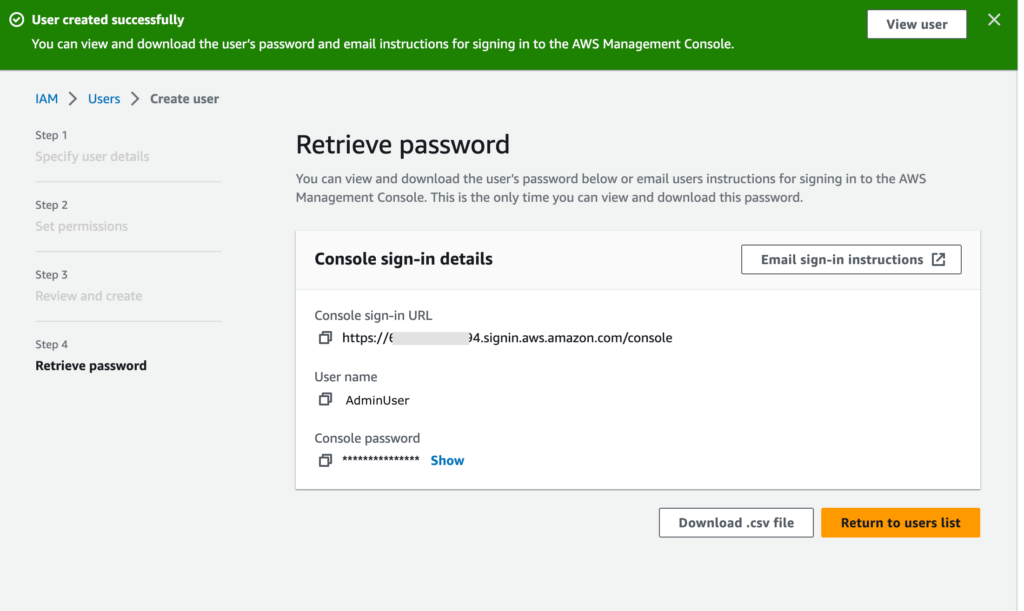
This initial IAM user that you’ve created is meant to be used to administer services via the AWS console. You’ll recognize some of these steps later as you create the specific IAM accounts needed for activities with SNS, SES, and S3, coming up in the next blog posts.
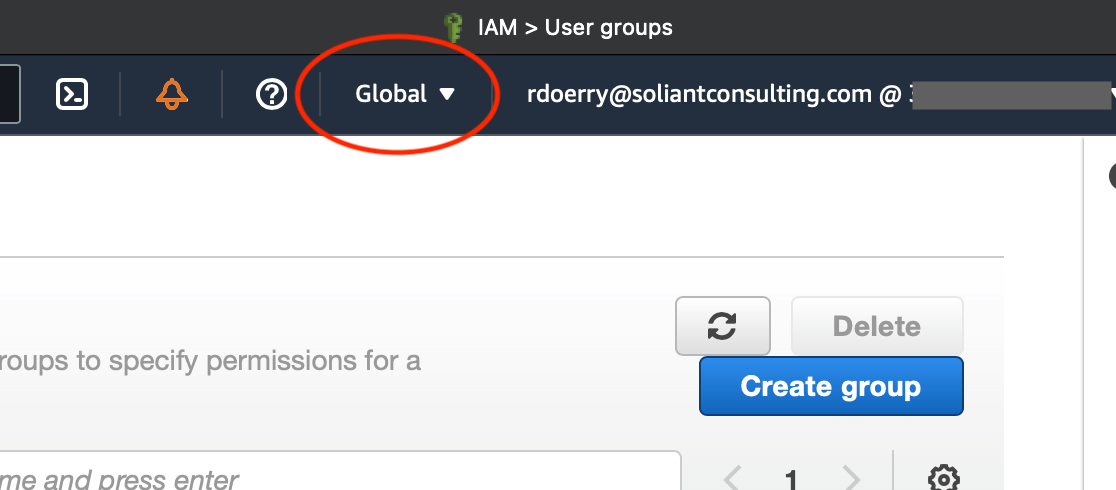
One more item to note while you are looking at your AWS console: in the upper right area of the console screen, there is a geographical indicator with a drop-down for selecting regions. This will say “Global” when you are in areas related to account administration (such as user management). However, specific regions will come into play as we dive into future blog posts.
Now that we’ve laid the groundwork for working with Claris Connect and AWS let’s get to the fun stuff. Keep an eye out for our next post on building a Connect flow that includes AWS Simple Notification Service (SNS).
