One of the new features in FileMaker Server 19.1 is the ability to do an upgrade-in-place between major versions. Going from 18 to 19, for instance, can now be done while keeping most of the settings intact.
Before this new feature, you had to uninstall the previous version, do some cleanup, install the new version, and redo most of the configuration changes again.
Even with this new feature, there are times where you definitely will want to remove the current version of FileMaker Server and install a new version from scratch. With virtual machines, that could be as easy as just starting a new instance or reverting to a snapshot taken before the initial FileMaker Server install. But in this article, we will tackle the scenario where you have to uninstall and reinstall. Specifically, this article will walk you through how to do this on Linux since that will be the deployment option that many of us will be the least familiar with.
The first thing to do is to confirm the actual version that is currently there. Nothing’s worse than uninstalling the wrong version. And I typically use the old version number to rename the FileMaker Server folder that is leftover after uninstalling. More about that later.
The full version number, including the build number, is listed on the admin console’s dashboard page. If you do not know the admin console credentials or can’t get to it, then you can still get that info from the yum package manager:
yum list installed | grep filemaker
Or for some additional information, including the original install date of the version on the machine:
rpm -qi filemaker_server.x86_64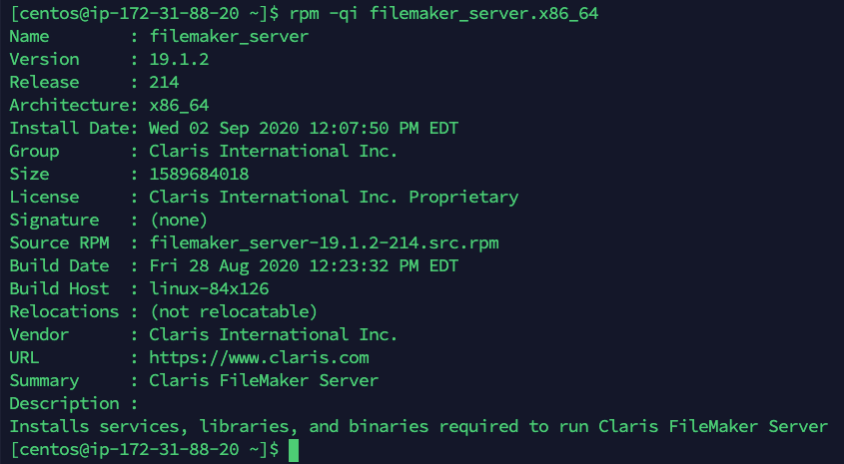
Either one of those shows you that the machine currently has FileMaker Server version 19.1.2 build 214. It so happens that at the time I am writing this, there is a newer version with build number 220 that needs to get installed.
First, make sure that all the hosted files are gracefully closed and then stop FileMaker Server:
fmsadmin close -y -u <admin console username> -p <admin console password>Watch for any error messages generated by the command; if need be, confirm the state of all the files with:
fmsadmin list files -s -u <admin console username> -p <admin console password>The Status column shows you that all four of the hosted files are closed:

The next step is to tell the FileMaker Server service itself to quit:
sudo service fmshelper stopFollowed by a check to make sure that you don’t see any of the processes running anymore:
sudo ps -A | grep fm
The last command output is empty, so there are no processes related to FileMaker Server active anymore.
If for some reason, the FileMaker Server processes do not want to stop gracefully, you can brute force the shutdown.
Using the ps command to get the list of processes as before, take note of the number in front of the fmserverd process, which is its process id (this number will vary, so always check).
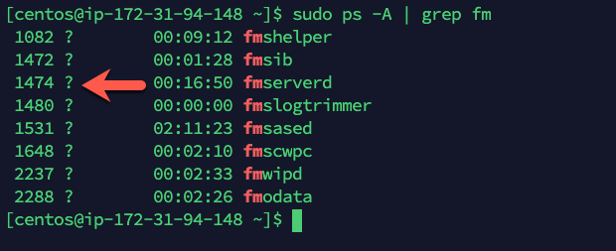
And then run this command to force quit that process:
sudo kill -USR1 1474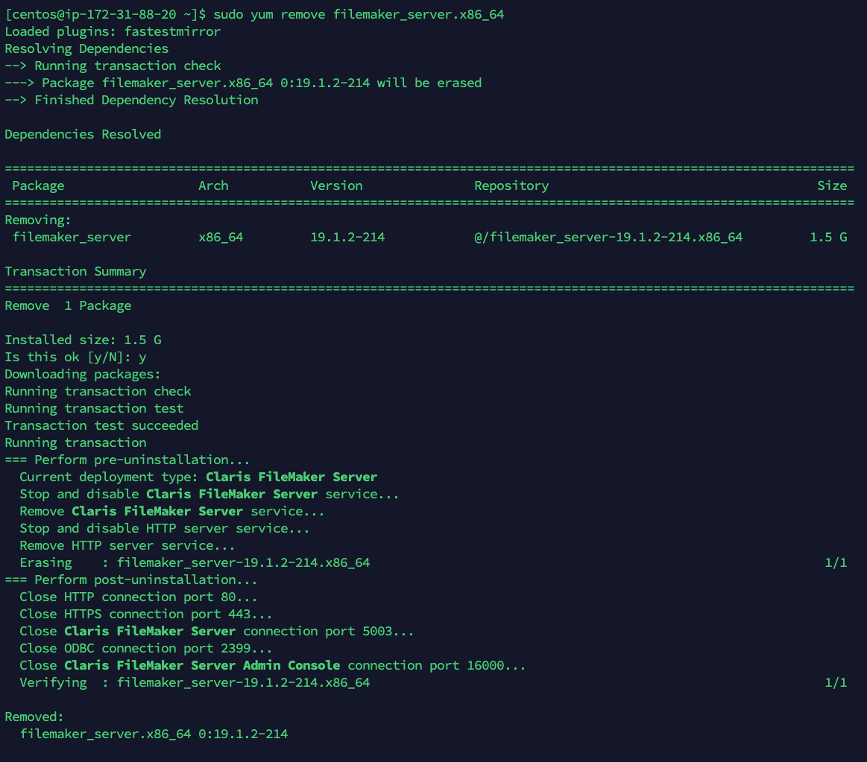
Reboot the machine to give the OS a chance at any remaining cleanup:
sudo reboot nowAfter you log back into the machine, rename the leftover FileMaker Server folder so that the new version will not overwrite it or gets caught up re-using some of what is left behind. This step is often overlooked (also relevant when installing a new version on macOS or Windows), and has been known to cause some issues.
The move command mv renames the folder, and I typically just append the old build number to the name of the folder:
sudo mv /opt/FileMaker/FileMaker\ Server/ /opt/FileMaker/FileMaker\ Server\ b214/(The “\” is used to escape the space in the ‘FileMaker Server’ folder name).
The result looks like this:

At this point, you are ready to install the new version. Copy the installer zip file to your server using SCP or SFTP. As in the article on installing FileMaker Server from scratch, we highly advise against installing additional file sharing protocols on your server for this purpose. The native tools work very well and are easy to use. Any additional file sharing protocol (like SMB) risks reducing security and requires more upkeep.
We typically install the AWS command line toolset to grab files from S3 buckets (and later use it to push backups offline).
Assuming that you have the zip file in the centos root folder like below (the name will vary depending on your version).
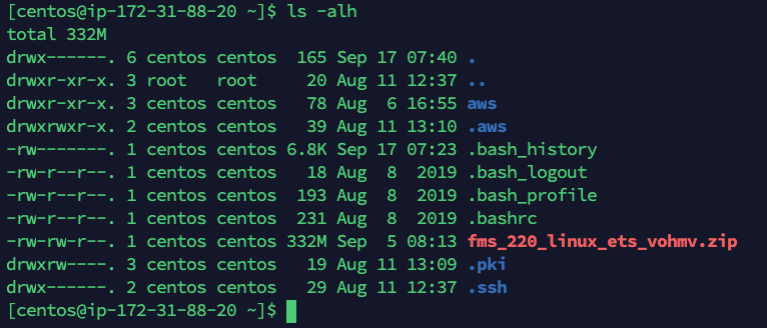
Unzip into a subfolder so that the unzipped files do not clutter up your home folder. The unzip command will create the folder for you (the folder name is specified with the -d parameter):
unzip fms_220_linux_ets_vohmv.zip -d FMS_b220Change directory into your new folder (cd) and check that everything looks ok:
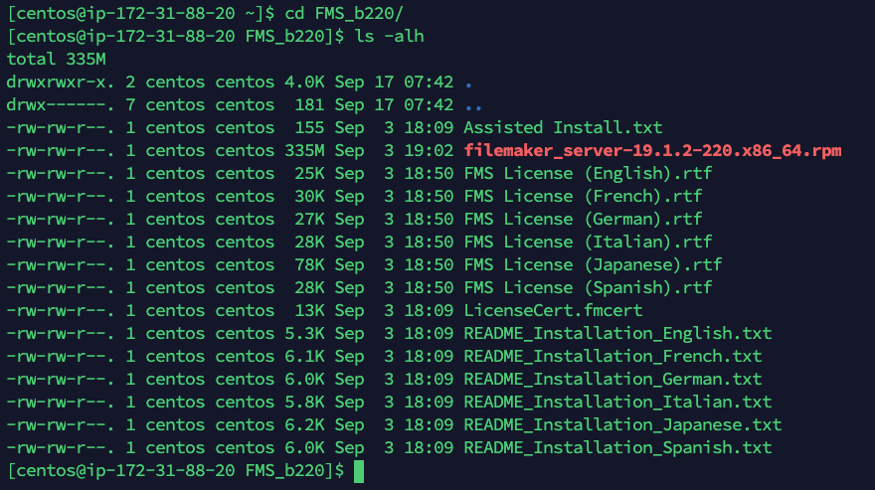
Tell yum to install the FileMaker Server package:
sudo yum -y install <the rpm file name>The next few steps to check if all is well are the same as in our blog post detailing the normal install process.
The usual steps include verifying that the main FileMaker Server processes are up and running and also the FileMaker Server web server. Then access the admin console for the first time, import your custom SSL certificate, and make some crucial best-practices configuration changes.
Once those are done, you can move your old files back into position so that your new FileMaker Server can host them. These files are in the /Data/Databases/ folder of the FileMaker Server folder that you renamed earlier in this process.
There is a FileMaker file in the main Databases folder on this server. There is also a subfolder with files plus a folder created by FileMaker Server when I removed some files. However, I just want that punisher subfolder and the OAth_tester file, not the folder removed_by_FMS and its contents.
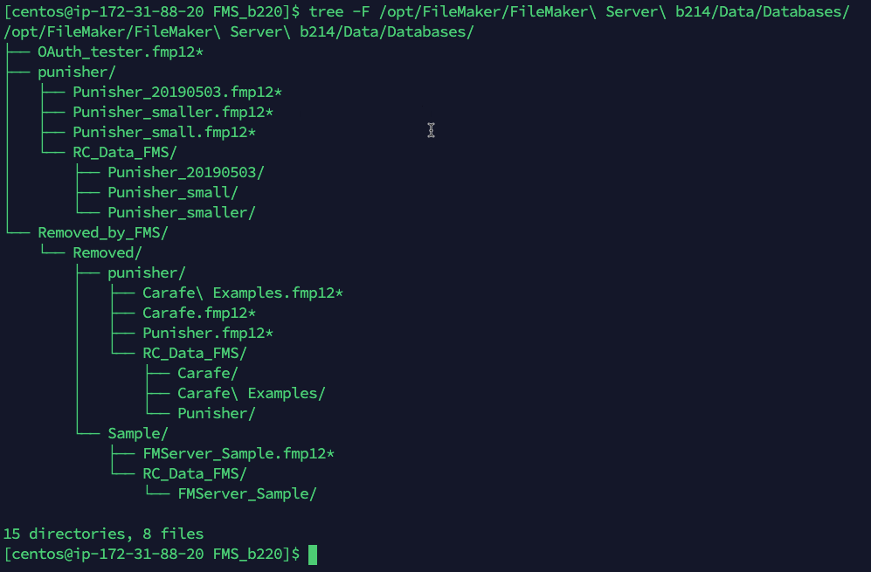
Power Tip: the tree utility is not installed by default; you can install it with:
sudo yum -y install treeTo move just the folder and files we want to the new FileMaker Server folder, you can use this approach:
- So that the syntax is a little easier to type and read, first change directory to the old FileMaker Server database folder:

- From here, move all the FileMaker files in that folder (there’s only one, but we’ll use a wildcard to demonstrate what you would do if there are multiple) and also move the folder named punisher:
sudo mv *.fmp12 punisher/ /opt/FileMaker/FileMaker\ Server/Data/Databases/All that is left now in the old Databases folder is the removed_by_FileMaker Server folder that we did not want to transfer over:

And in the live FileMaker Server databases folder, we see the files that we need:

Note that the correct ownership and permissions of the files and folders remained intact. But always do check and adjust as needed with chmod and chown.
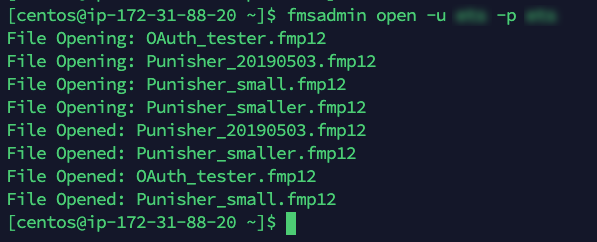
All that is left to do now is to tell FileMaker Server to host the files:
Other things to consider before you decide to delete the older FileMaker Server folder:
- Move any Scripts that you may have in the old Scripts folder
- Move the ReleaseDebugOn.txt file from the old /Database Server/bin/ folder to the new one, if you were using it.
- Archive any backups you want to keep from the old backups folder to free up your disk space
- Copy any custom OAuth providers from the old dbs_config.xml in /Data/Preferences/ (remember to shut down the database server before modifying that XML file)
- Archive any old log files that you want to keep
- Clean out the old Documents folder in case your server-side scripts use that directory
Hi Wim, i am upgrading FMS on Ubuntu 20.04.5 from 19.6.2.xxx to 19.6.3.xxx. I would try to just run the installer for 19.6.3 and hope that it will just upgrade the server version while keeping all the custom preferences (Backup schedules, Google o-auth and Custom o-auth, Backup folders, Server schedules, Custom o-auth login page, MySQL and Maria DB libraries…) in place.
I will report somewhere on how it went. If this would not be possible we should really ask FileMaker to make it possible somehow, otherwise every small upgrade, not mentioning the big ones from version to version turns into a stress day.
Upgrade-in-place is what that is called and it works. But you can definitely run into scenarios where it won’t and you’ll find that you have to do the full uninstall and install again. On Ubuntu we have that fully scripted so that it doesn’t become a stress day. Since we know where all the preferences and settings are stored we can easily recreate all of them in a scripted fashion. A full uninstall-and-reinstall usually takes no more than 10 minutes beginning to end.
Everything worked fine, just beautiful…