Since FileMaker 16, you have been able to use OAuth identity providers (IdPs) to authenticate your FileMaker users, but your choices were limited to Microsoft Azure AD, Google, and Amazon accounts (expanded in 19.1.2 to include AD FS when running FileMaker Server on Linux).
In late 2019, Steven Blackwell and I started a series of white papers that explain how you can extend that functionality to virtually any identity provider that supports the OpenID Connect (OIDC) authentication flow, an approach that works with FileMaker Server 17 and up. The infographic below from our Engage 2020 session summarizes some of the providers that we have successfully implemented (including completely passwordless access into FileMaker solutions).
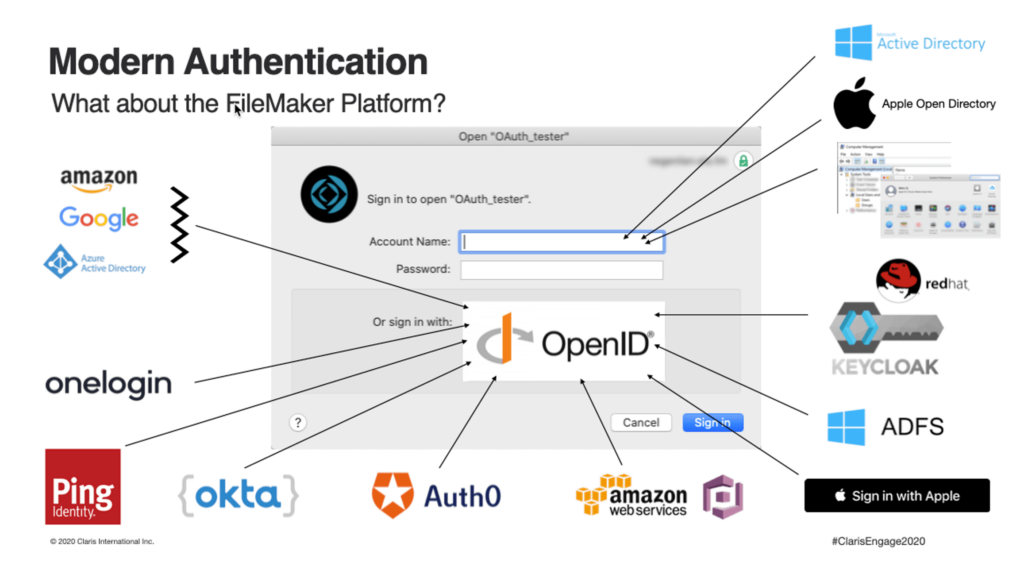
You can browse the full list of white papers and blog posts on this topic here.
So, what changes with FileMaker Server 19.4? Two things.
Settings in the Admin Console
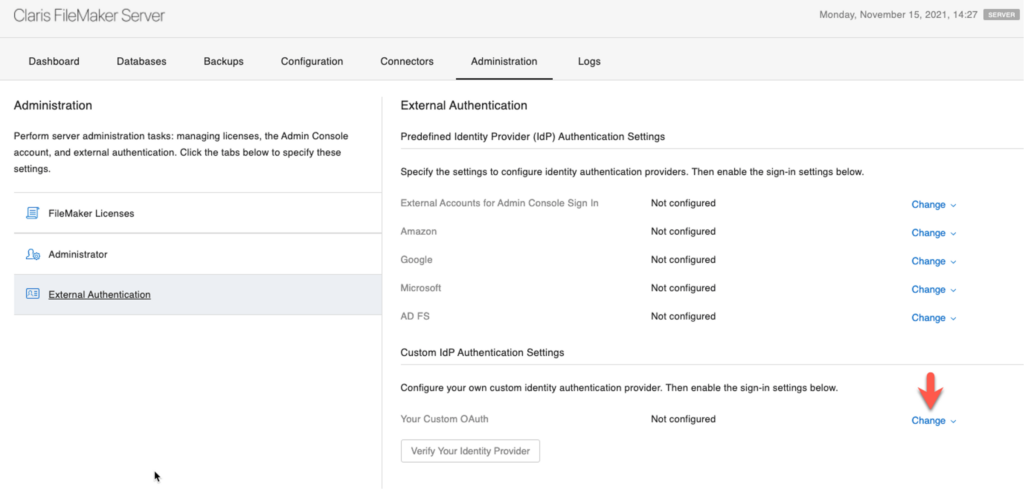
First: with this new release, you no longer must manipulate the underlying dbs_config.xml file to configure your preferred OAuth identity provider. You can add it directly in the admin console:
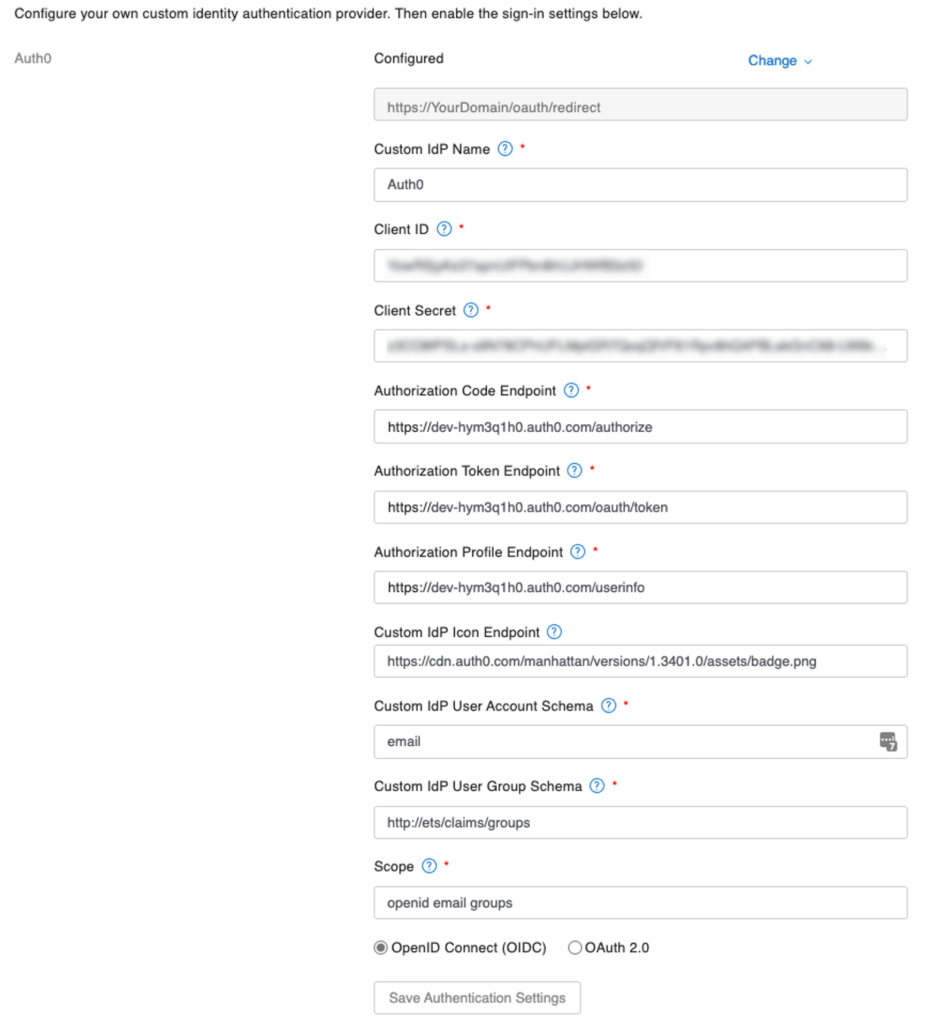
Below is an example of a working configuration that uses Auth0 (now part of Okta) as the identity provider. For a detailed explanation of the individual settings and how to retrieve them from the IdP, I refer you to the series of white papers linked earlier in this thread.
OAuth 2. vs. OIDC
You can now also use full OAuth 2 authentication flows instead of just OIDC. The setting for that is at the bottom of the configuration options:

When you use OAuth 2.0, then the Authorization Profile Endpoint will be used. It has no use for OIDC flows, but it is still a required configuration setting that you must fill in.
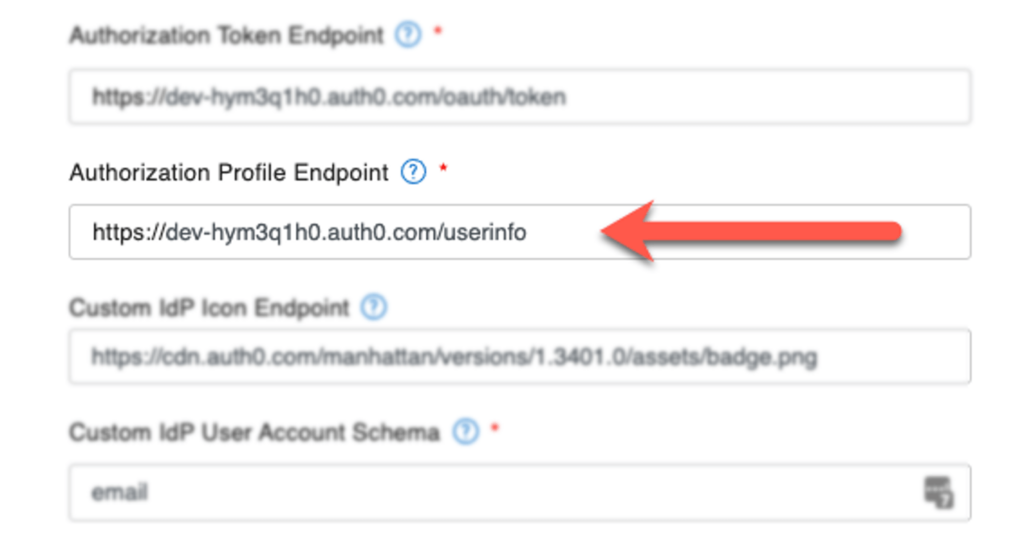
The main difference between the two flows is that OAuth 2 requires a third call, a call to that profile endpoint to retrieve information about the user. With the OIDC flow, all the pertinent information about the user (account name, groups) is delivered in the id_token after the 2nd call. Whether or not you should choose OAuth 2 or OIDC depends on your preferred IdP.
“Sign in with LinkedIn,” for instance, is a service that does not support OIDC but only the full OAuth 2.0 flow. In a future blog post, we will describe how to configure LinkedIn and FileMaker Server 19.4 to use this service.
Noteworthy
A couple of things to note:
- After you add all the configuration options, you can verify directly from the admin console that your setup works correctly, but:
- First, enable the provider first at the bottom of the settings page; if you don’t, the verification button will still look like it is active but will not do anything.
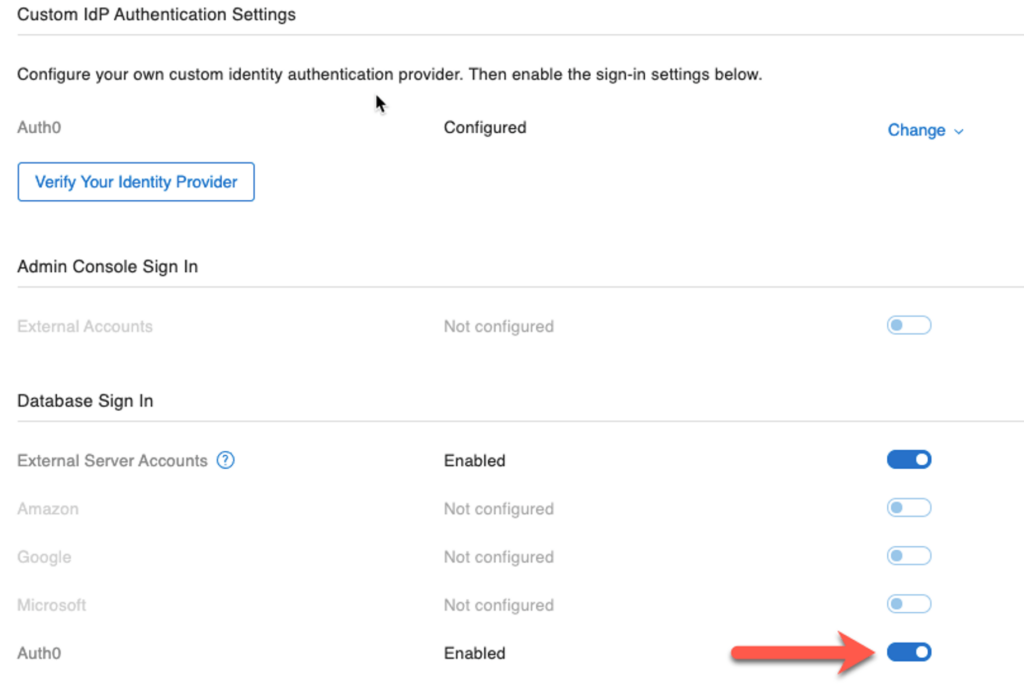
- Make sure you are accessing the admin console through a proper DNS name covered by an SSL certificate. If you are using the admin console directly on the server through ‘localhost’ or ‘127.0.0.1’, then the verification will fail.
- Remember that starting with 19.4, FileMaker Server does not use port 16000 anymore for the admin console, so the URL to access the admin console remote is now just:
https://<DNS-name-of-your-server>/admin-console
- Remember that starting with 19.4, FileMaker Server does not use port 16000 anymore for the admin console, so the URL to access the admin console remote is now just:
- You can only add one custom IdP. Whereas by manipulating the underlying dbs_config.xml file as described in the white papers, you can add multiple identity providers.
- There are no matching Admin CLI or API equivalents to configure FileMaker Server, so for automated deployments, you still need to modify the dbs_config.xml file.
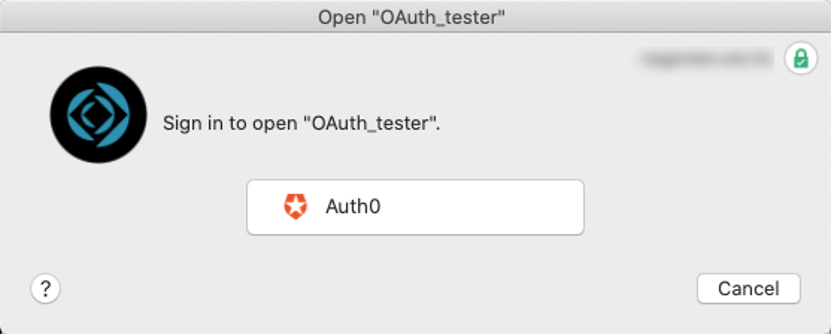
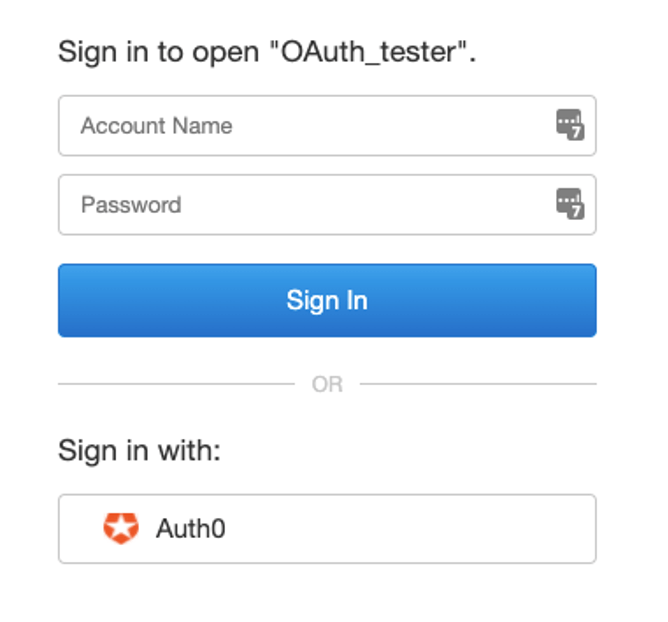
- You can link directly to the proper branding for your identity provider, and if your users are also on 19.4, they will see the correct logo on their login screen:
Conclusion
That you can now configure one additional OAuth provider directly in the admin console is a great addition to FileMaker Server. The feature will hopefully become even more powerful once we can use the Admin API to configure it (which will help with automated server deployments) and when the UI allows us to specify multiple custom OAuth providers. If you need help implementing this feature, please contact our team.
Great work walking us trough the options Wim!
The previous Oauth walkthroughs helped us a lot!
What lives at https://YourDomain/oauth/redirect ? Is that just a place holder, or is it some kind of web hook? Or a simple http redirect?
Thanks
An OAuth authentication flow is a multi-step process:
– FMS takes the user to the IdP and tells the IdP where to redirect the browser to after the authentication fails or succeeds. The IdP will only honour authentication requests from pre-configured sources. Which is why you have to add your FMS redirect URL in your IdP settings
– the result of a successful IdP authentication is a code which is part of the redirected URL, so FMS listens on that redirect URL so that it can grab the code
– FMS then makes an API call to the IdP to exchange the code for a set of tokens
So to answer your question: FMS listens on that URL.