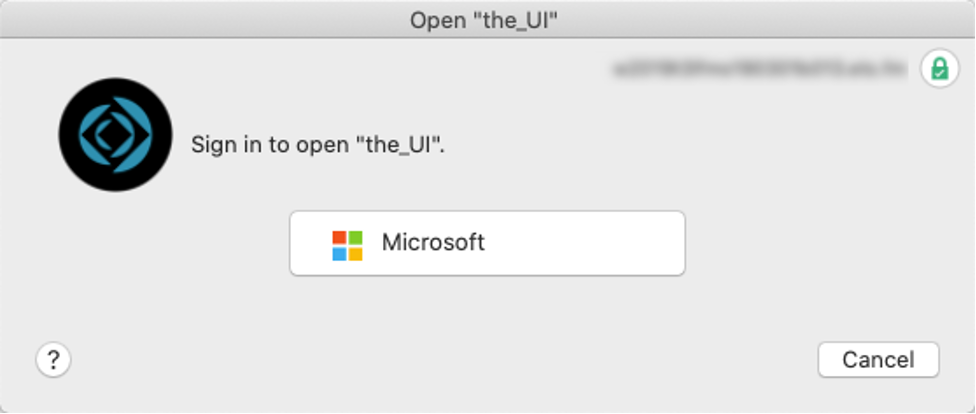
Starting with FileMaker Pro and Go 19.2.2 (released on March 16, 2021), the login dialog box only shows the configured OAuth Identity Providers (IdPs) for the server the File is hosted on. It will not show the usual username and password fields for native FileMaker accounts.
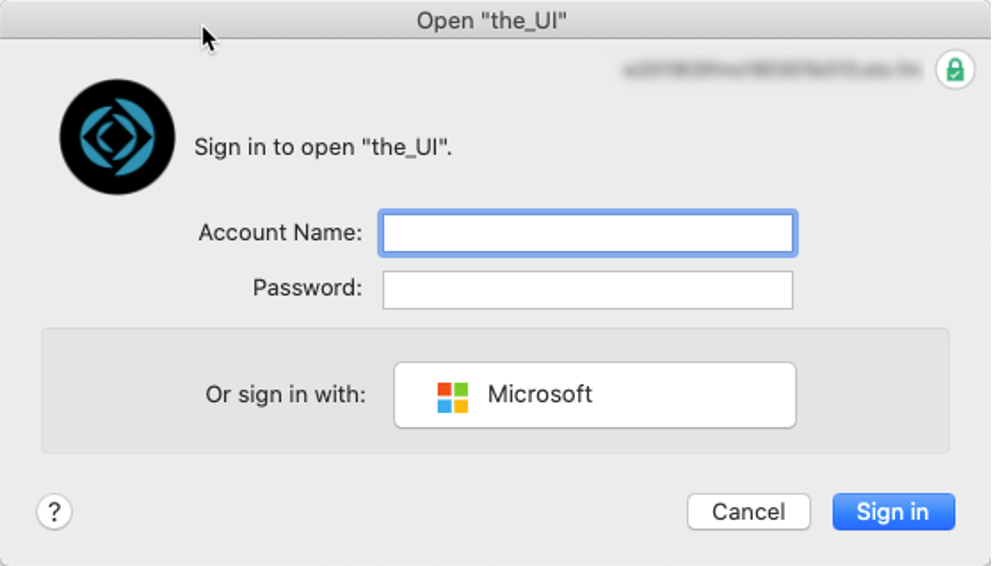
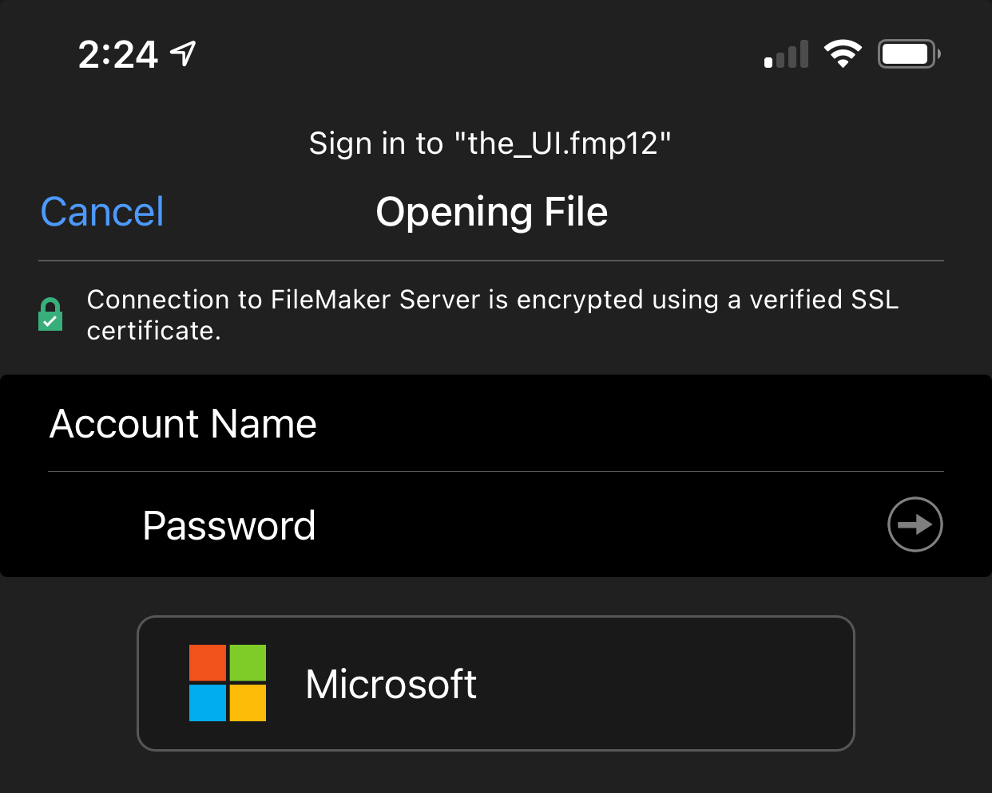
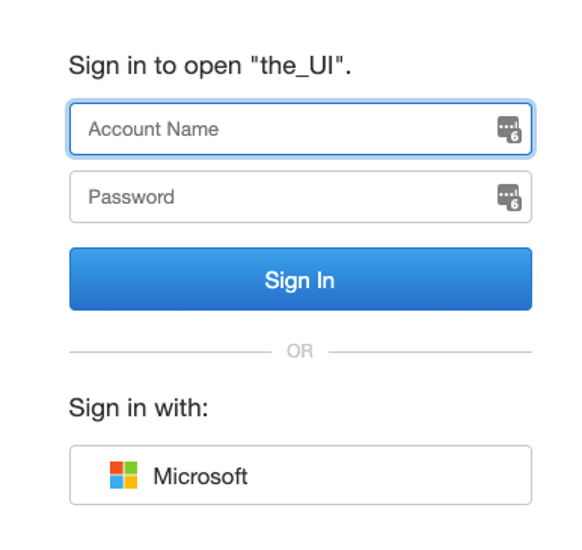
This assumes your FileMaker Server is set up to allow account management by Microsoft Azure AD, and you are used to seeing this type of login dialog when using FileMaker Pro or Go:
Hidden Login Credentials
As soon as you upgrade your Pro or Go to version 19.2.2, however – and even without changing anything on your FileMaker Server – the login dialog now hides the FileMaker account username and password fields. You will see this dialog:
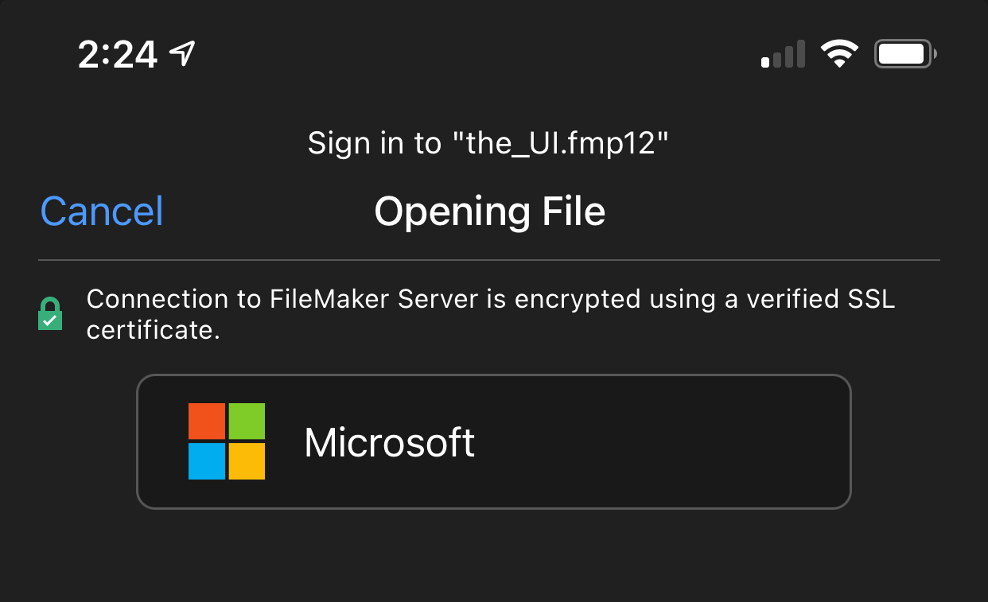
Note that is so even if your FileMaker Server runs version 18, 19.0, 19.1, or 19.2. It is strictly the version of the client that is relevant. And since most users have their iOS devices set to automatically update apps, when they receive 19.2.2 – often without knowing – they may get caught out by this new behavior.
Functionality Not Dependent on Externally Authenticated Accounts
This does NOT depend on whether you are actually using externally authenticated accounts in the File you are opening. This behavior depends only on whether the server itself is configured to allow those OAuth IdPs. If any of the toggles as shown in the yellow highlight below are active, your 19.2.2 clients will be affected.
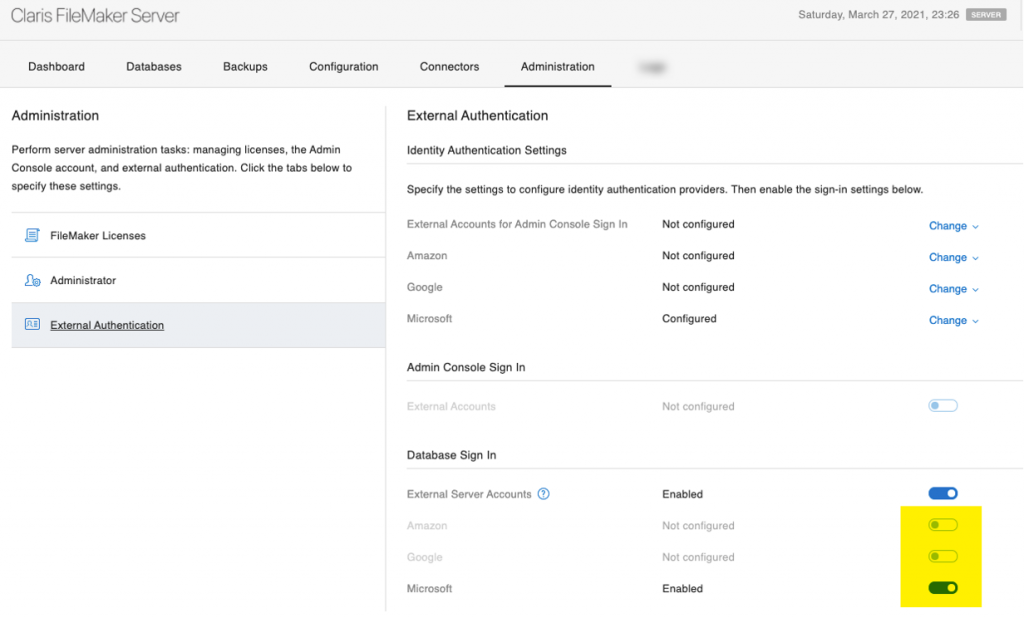
If you have configured a custom OAuth IdP as per our series of blog posts, then these toggles may be inactive. However, you will still get the same login dialog behavior with only the buttons for your custom IdP.
With the server set up as above, all files hosted on that server will now only show the Microsoft login button when you open them with Pro or Go 19.2.2.
Forcing the Traditional Login Dialog
If that is not how you want things, hold down the shift key on Windows or option key on macOS when opening the File. This will force the traditional login dialog with the FileMaker account input fields.
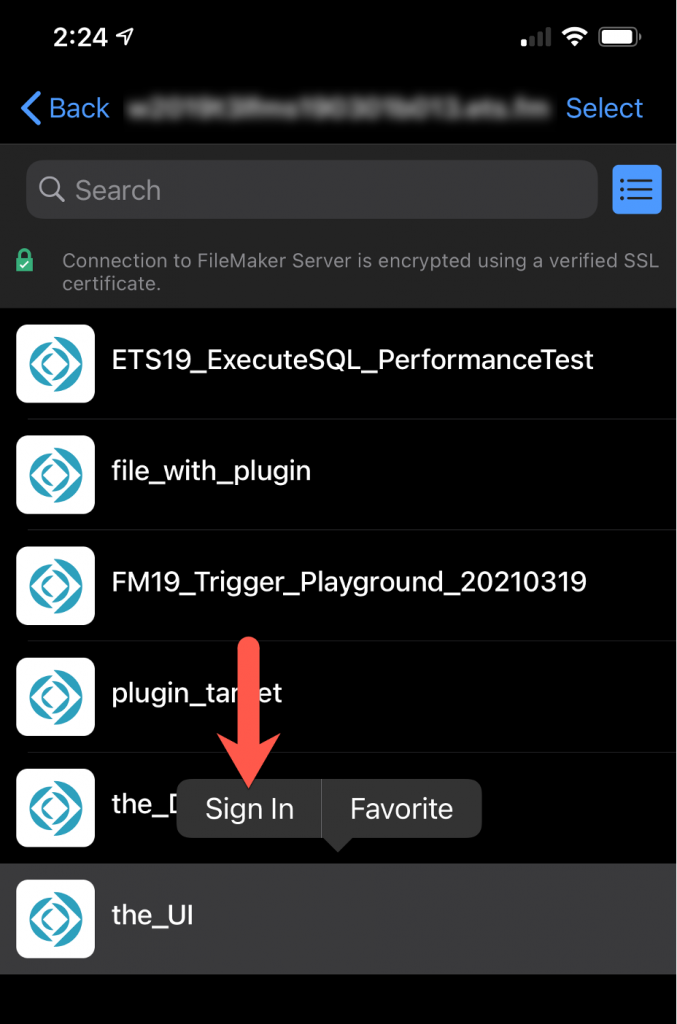
On FileMaker Go, you can long-press the file name to bring the options menu and choose Sign In.
Permanently Forcing Traditional Login Dialog
To permanently change the behavior back to what it was before for each File, use FileMaker Pro 19.2.2 and:
- Open the File
- Then from the main menu, go to File > File Options
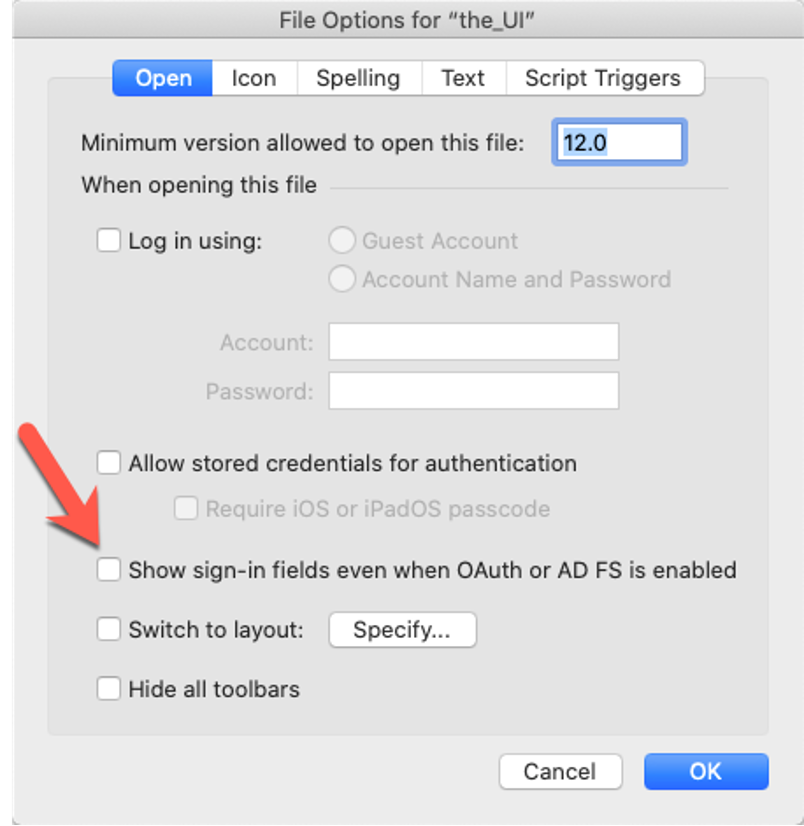
- Check the new toggle named Show sign-in fields even when OAuth or AD FS is enabled.
This may be a fair amount of work to get through if your FileMaker Server is hosting many files. A short-term solution may be to spin up a secondary FileMaker Server to separate the files that use external authentication from the files that do not until you have time to update each File’s settings.
Potential Issues on FileMaker Go
We’ve heard reports of FileMaker Go users not seeing either the FileMaker account input fields or the OAuth provider’s button. They end up with a blank screen, as shown below.
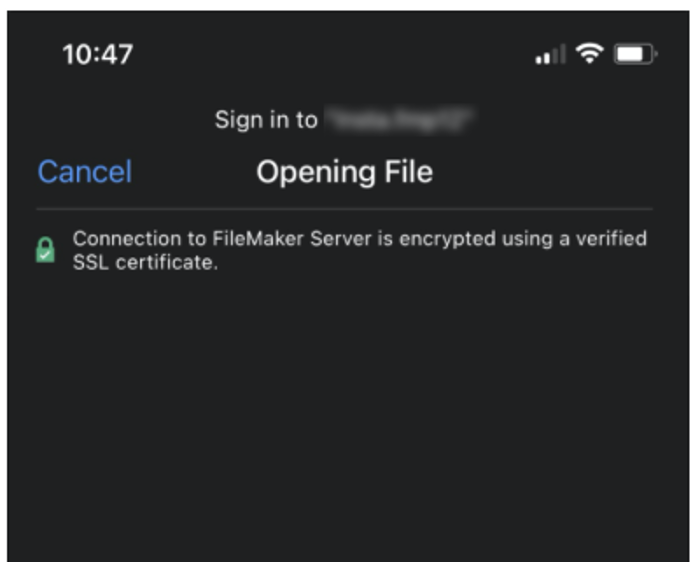
In my testing, I have not been able to replicate this. If this does happen in your deployment, post a message on community.claris.com.
In all of this, the login dialog for WebDirect is not affected. It continues to always show both the FileMaker account input fields and the Identity Provider’s button. The WebDirect login is a function of the FileMaker Server and not dependent on a specific client version.
Leveraging New FileMaker Functionality
As Claris continues to add more features and functionality to FileMaker, you have even more opportunities to strengthen and adapt your existing solution to do more for your business. If you need help adopting any new features, our team can help.
Great improvements to the login dialog box! I love the modern design and the added functionalities. It makes the user experience much smoother. Excited to try it out in my projects!