The Challenge: Integrating a WebDirect Solution with Your Website
Say you have a FileMaker WebDirect solution and want to integrate it with your current website. You want the users to be able to click a button on your website, authenticate through your chosen identity provider and end up inside your WebDirect file without jumping through many hoops or breaking the branding experience of your website.
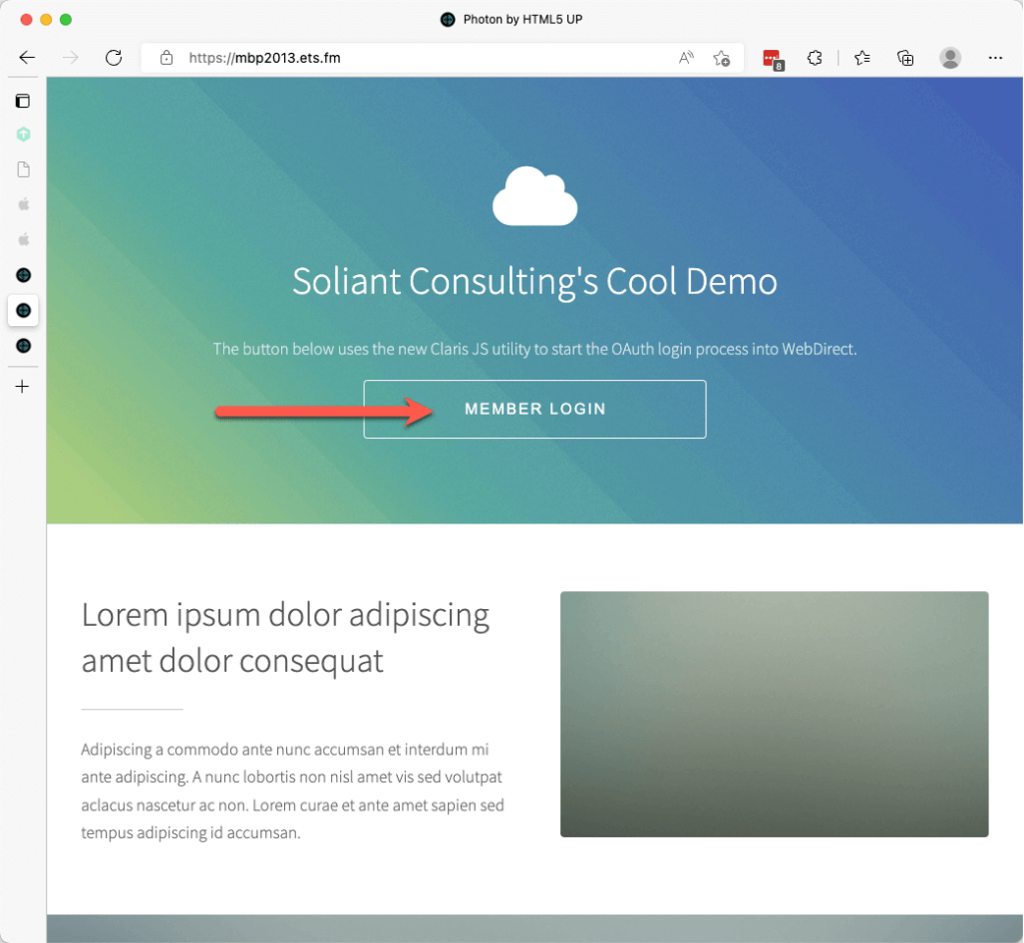
Before
The only way you can avoid taking the user to the WebDirect launch center is to create a URL that includes the file name. That will take the user directly to the file’s login page, which comes in two variants depending if you use a home URL or not.
The home URL is where the user will be taken back to when they log out of the WebDirect session.
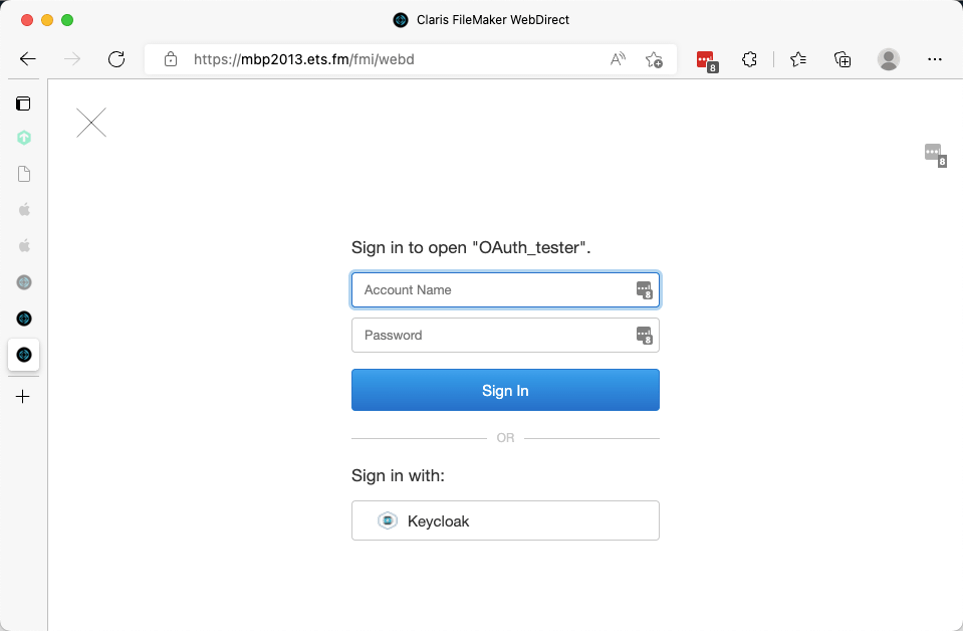
Without a home URL, the file’s login screen looks like this, with very few customization options.
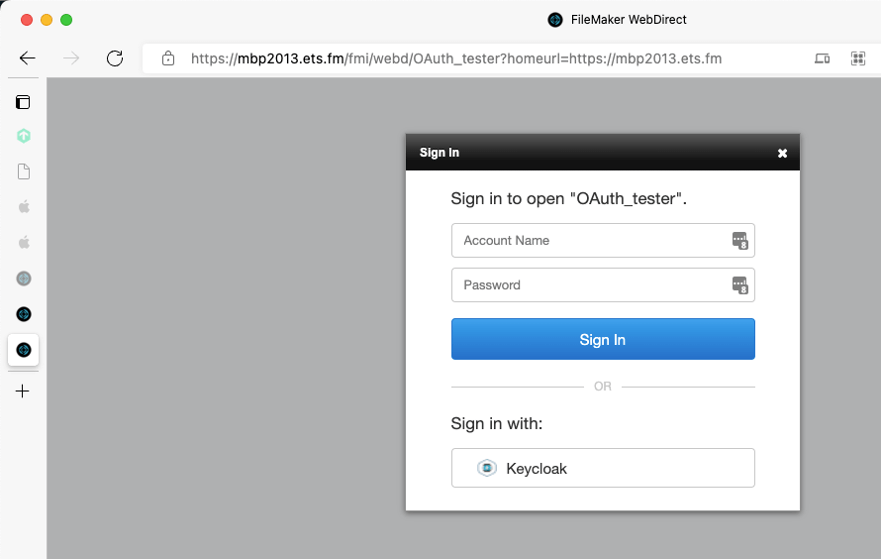
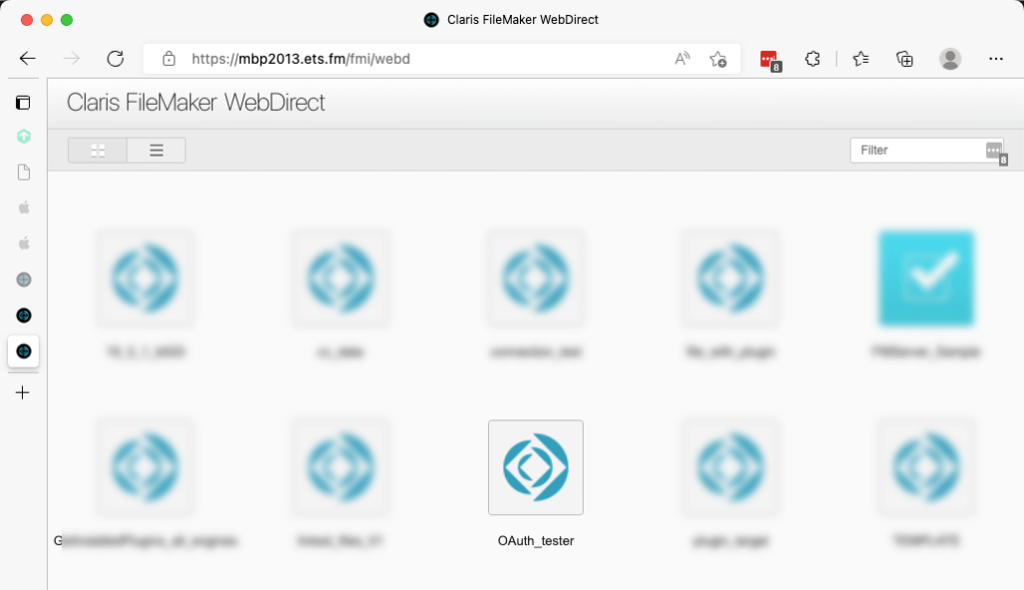
With a home URL, the file’s login screen is generated from a completely different place and is not at all customizable:
In 19.5, you can make WebDirect hide the FileMaker login fields and just show the OAuth option for which your server is configured. This makes the experience a little less confusing for your users.
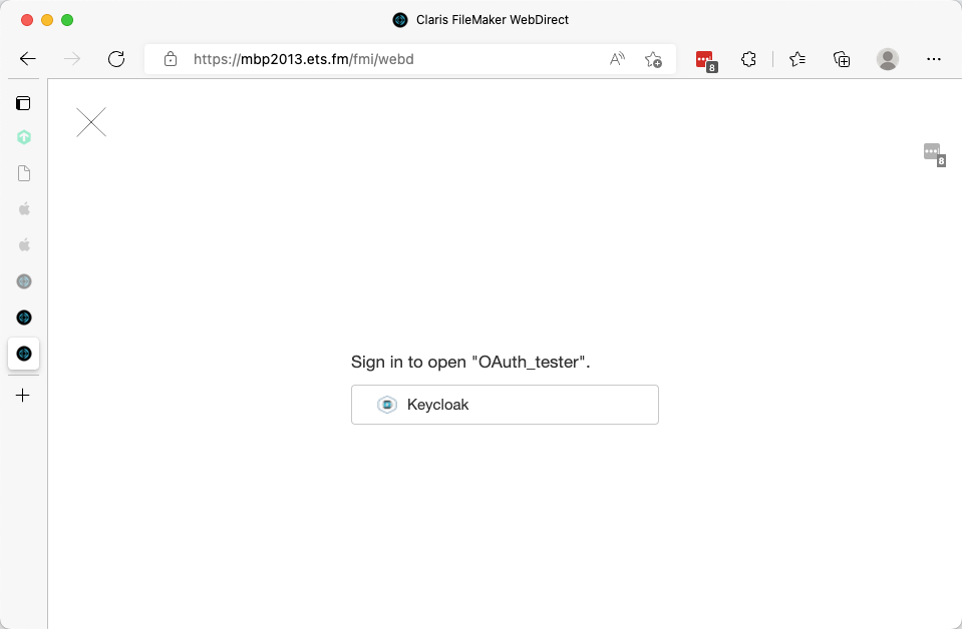
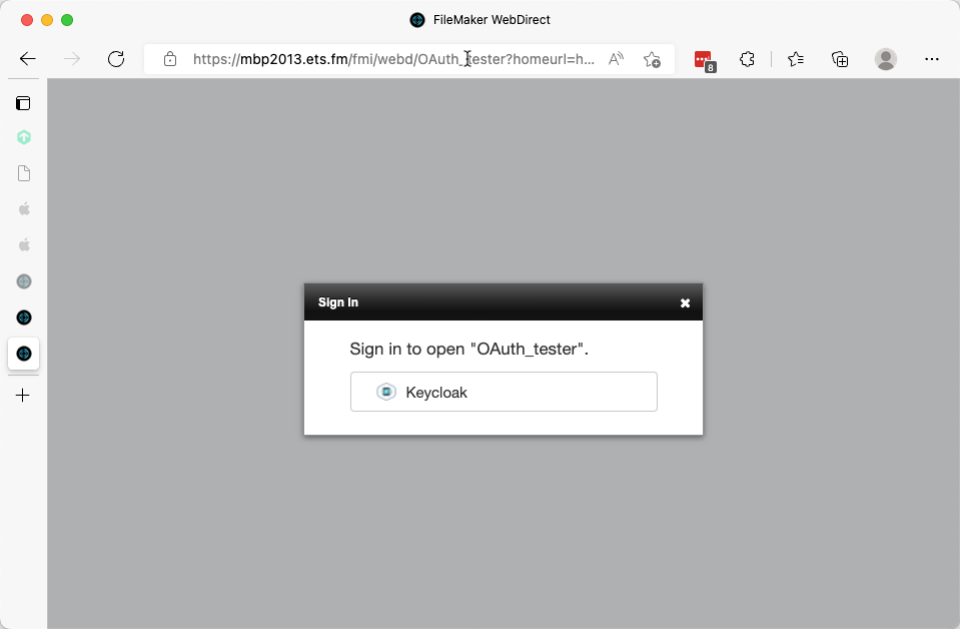
But it is not ideal. These login pages do not fit into the visual flow or branding of your own website. Your users must still click the provider’s button (Keycloak in the screenshots), which is an unnecessary extra step: they have already clicked the button on your own website. And you will want to use the home URL functionality so that the user goes back to where you want them instead of back to the WebDirect launch center, which would completely confuse your users.
The Solution: the FileMaker WebDirect OAuth Script
Claris has released a JavaScript utility that has all the necessary code to start the OAuth login process from your own website. It’s named the FileMaker WebDirect OAuth Script.
The JavaScript code has three functions:

getProviderInfo queries your FileMaker Server to get a list of the configured OAuth providers so that you can render the proper buttons on your page for each one.
getOAuthURL and doAuthLogin are called when the user clicks your button and fetches the URL for the identity provider where the user will need to authenticate and handle the response from the IdP. They either log the user into your WebDirect or refuses access.
Also included in the download is an example HTML file that shows how to call those functions.
How to Implement the FileMaker WebDirect OAuth Script
Let’s walk you through how to implement it into your website. You can download the sample website that we use for the screenshots from GitHub.
The very first thing you do is add the Claris utility JavaScript file to your project by adding it to where you keep the other JavaScript files that make your website work. Then add a reference to it in the HTML page where you will use it, which is the index.html for this website.
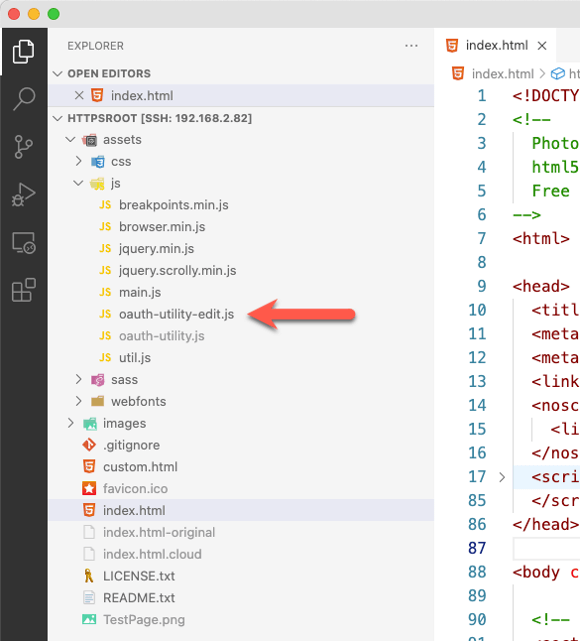
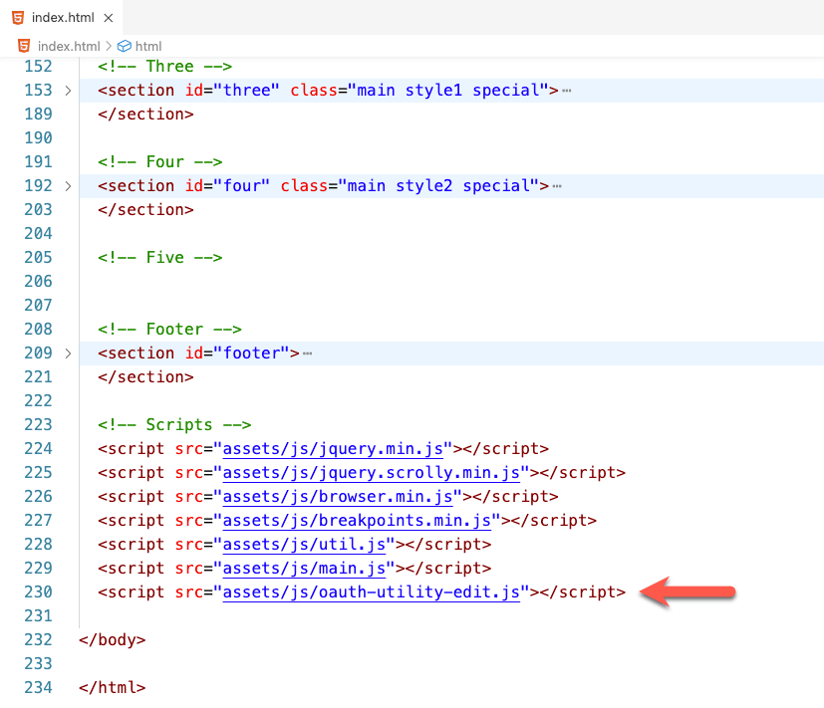
Note that we chose the edit version of the JavaScript utility mainly to be able to see the code more clearly. You can certainly use the minified oauth-utility.js version instead.
In the sample website, you want the button to be in the header. The HTML code for the header is here, and as you can see, there is no button defined.
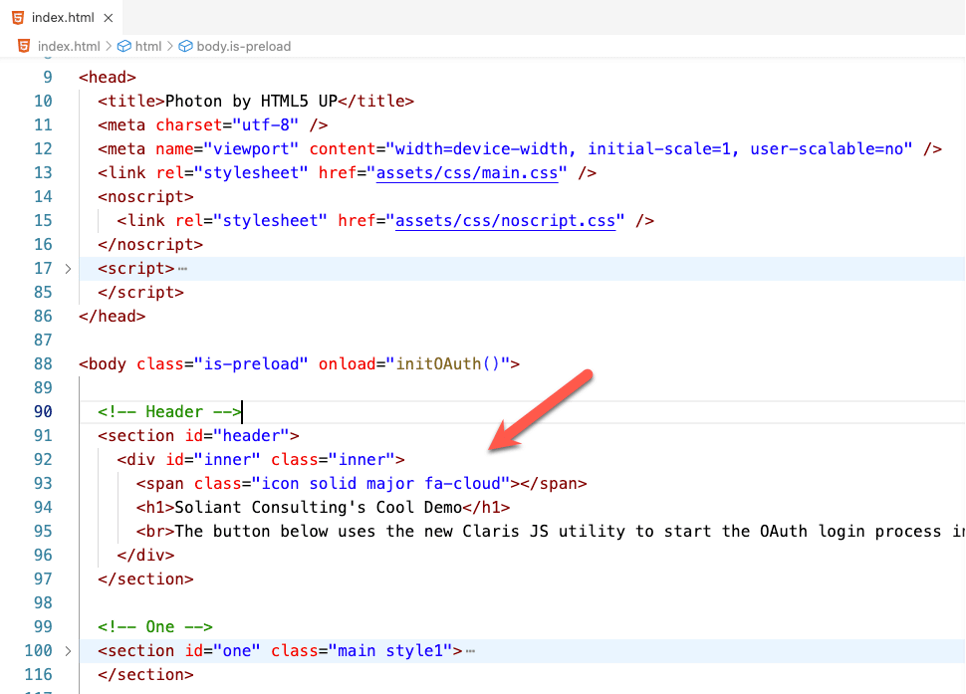
The JavaScript script that is part of the Claris example is written in such a way that it will query your FileMaker Server for a list of the configured OAuth identity providers and can dynamically add a button for each one.
Add a script section to the HTML with the JavaScript code that will use the Claris JavaScript utility functions. Then set up the body to call your JS when the page loads:
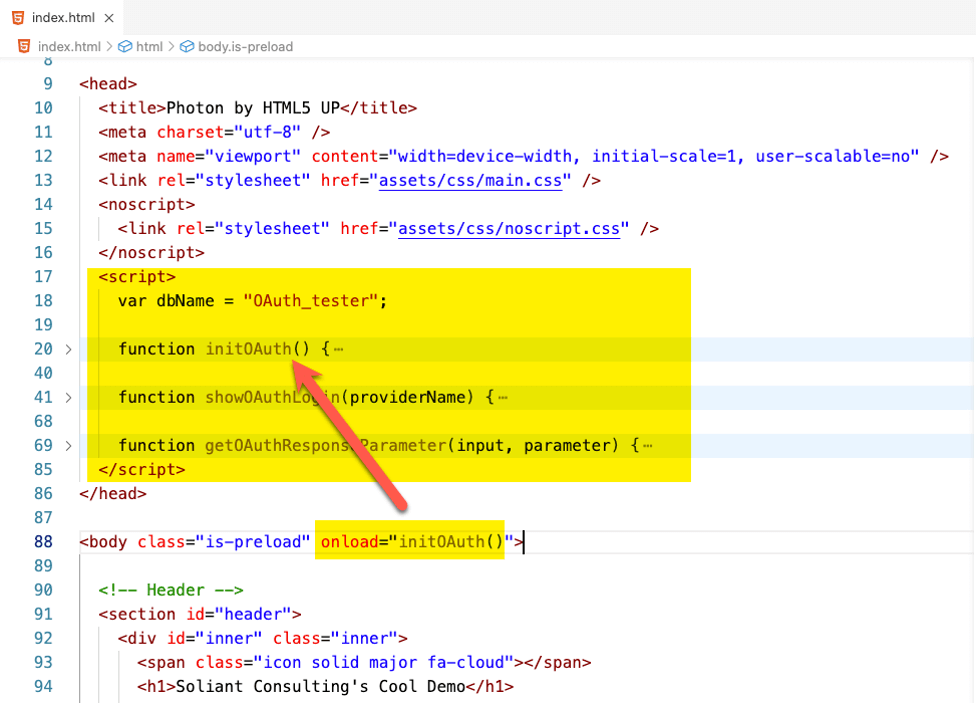
Line 18 has the name of the FileMaker file that will be opened.
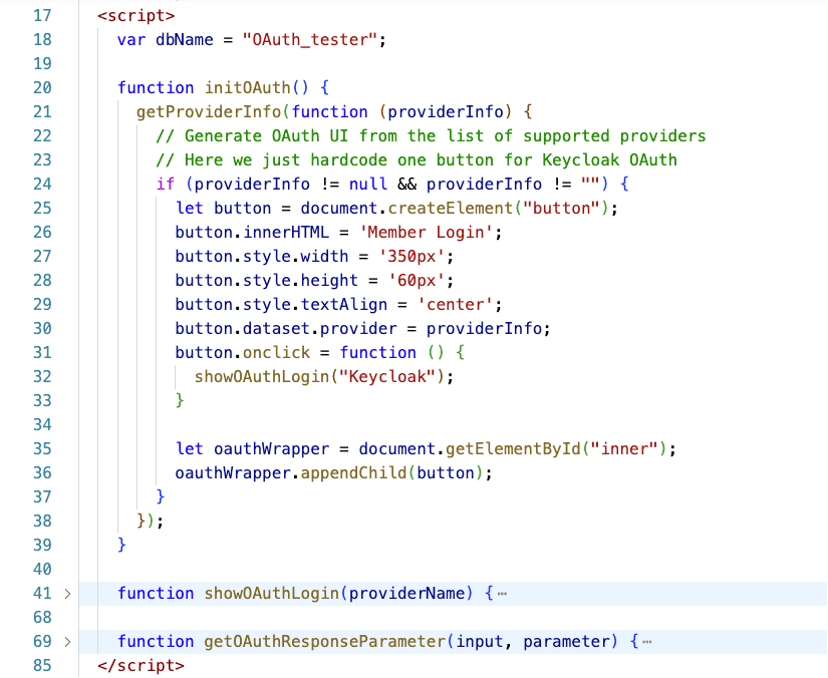
The initOAuth() function is below. It calls the getProviderInfo function from the Claris utility, which returns a JSON object with all the OAuth providers that your FileMaker Server is configured for. The Claris example JavaScript code for the HTML page does not iterate through the list but rather hard-codes a single button (lines 25-33). If there was no response or no OAuth provider configured, then no button will be drawn.
Lines 35-36 add the button to the div element with id inner. You can see that div element in the screenshot above on line 92.
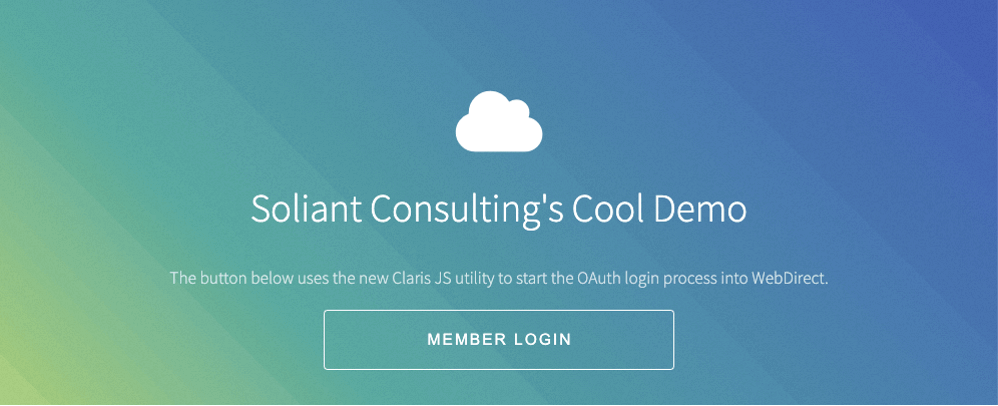
When your users visit your website, the button with the text Member Login (see line 26) will now show:
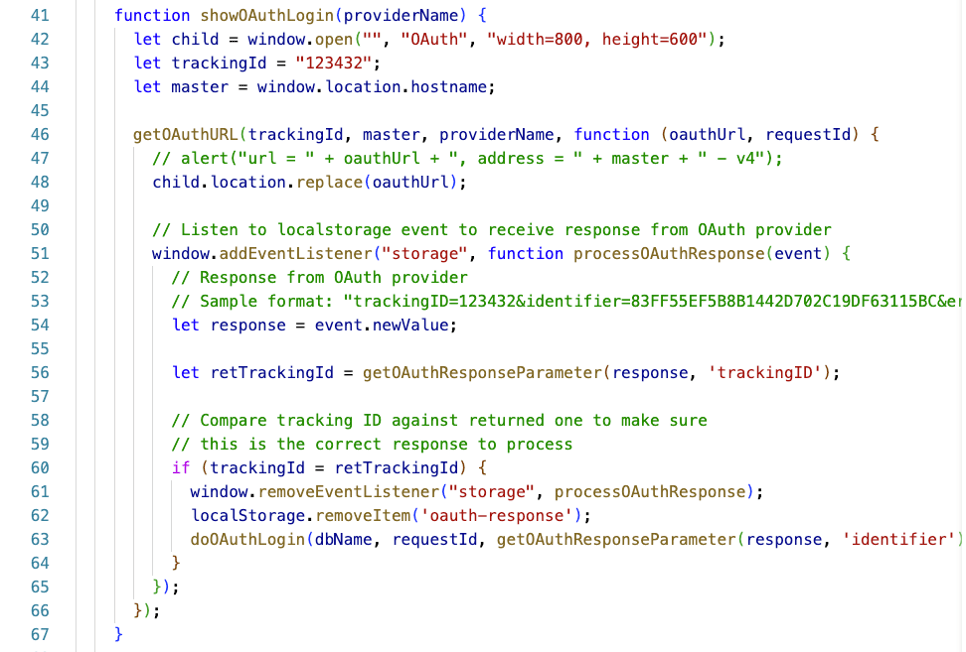
When your user clicks on the button, the showAuthLogin function will run (see lines 31-32). The code opens a new small window, fetches the login URL from the provider, and initiates the authentication request by going to that URL (line 48).
The code then waits for the response from the identity provider and will call the doAuthLogin function from the utility JavaScript when the identity provider confirms that your user is properly authenticated (line 63).
User Experience
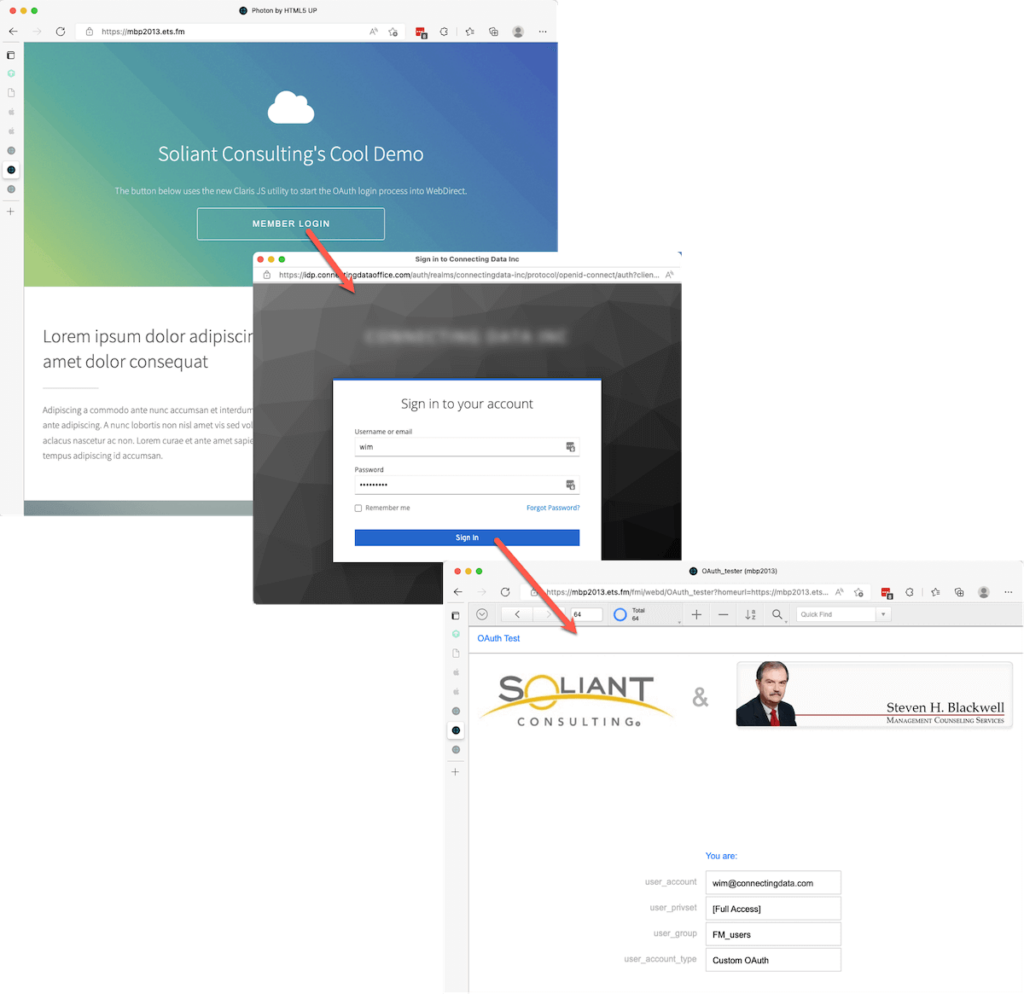
The user’s experience will be:
- The user clicks the button on your website.
- The login screen for the indentity provider goes up.
- The user provides credentials and authenticates.
- The user ends up on your WebDirect solution.
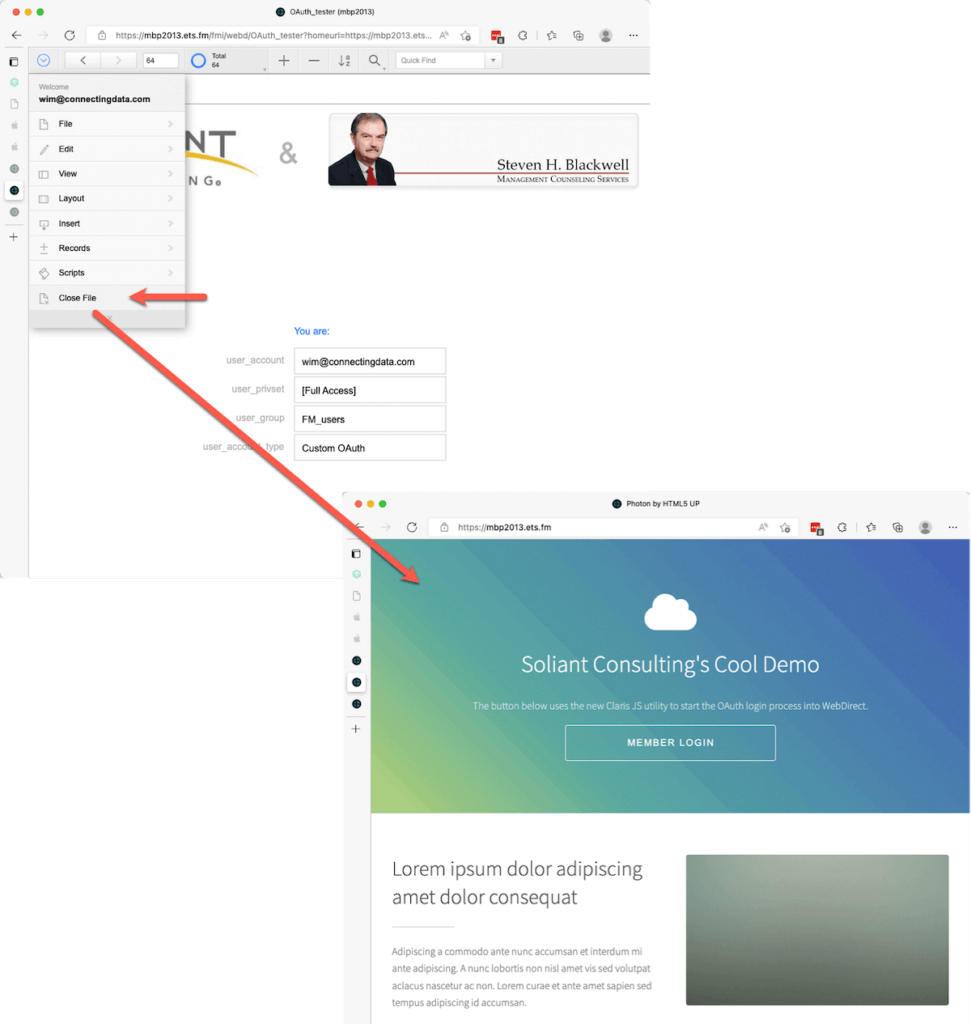
When the user logs out (through the menu or a scripted action), then the user ends up back on the page where they came from.
How? The doAuthLogin function in the utility JavaScript has a parameter for the home URL.

And you specify that in our index.html when you call the function.

Caveats
The utility assumes that your website is running on your FileMaker Server because it makes calls to relative paths:
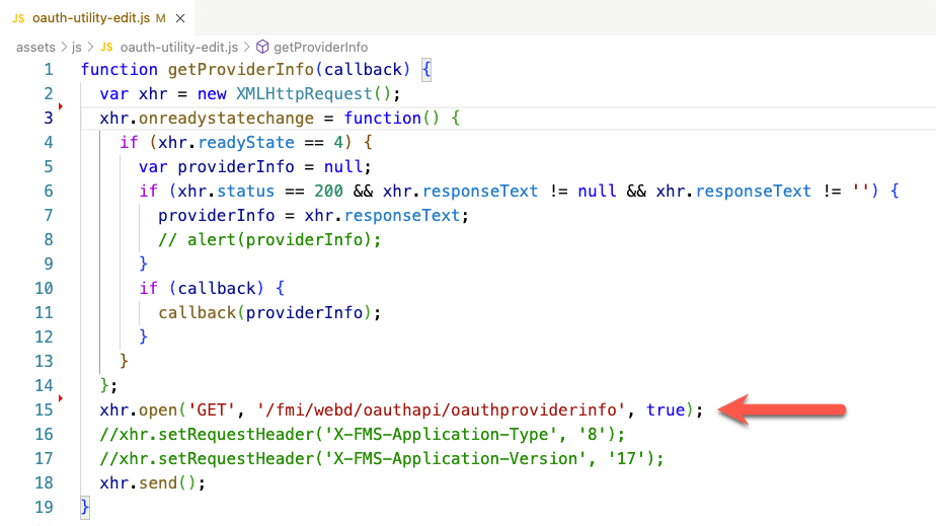
You will need to update the JS utility to make it call your FileMaker Server if your deployment is different and your website lives on another server. You may have to deal with CORS issues
19.5 and Previous Versions of FileMaker Server!
Although this utility is released with 19.5, this feature is not limited to 19.5. The OAuth flow is the same in previous versions of FileMaker Server and should work with all currently supported versions of FileMaker Server 19.
If you are upgrading from a FileMaker Server version before 19.4.1, beware that the home URL functionality is now off by default, and you have to explicitly turn it on and whitelist the allowed URLs. You can find the instructions in the Claris Knowledge Base.
For an overview of all changes to the product line in the last year, see this blog post of ours. If you need help enhancing your FileMaker solution, contact our team to speak with a consultant.
JavaScript Utility Files from Claris
Claris Support provides JavaScript files and an example HTML file:
I understand that the oauth web direct bypass code will work ok on V19.4.
I have your test web site , which needs to be hosted on the FM server so : where would you suggest the site root index.html should best be located on the FM Server?
in launchcentre or in HTTPServer/conf?
Strictly speaking you don’t need to host anything on FMS, you can host it all on your ‘regular’ web server. It’s just a little more complicated.
If you want to host it on the FMS machine then you’d put things in the /HTTPServer/htdocs/httpsRoot. Or the Nginx equivalent if you are running Ubuntu 20 and switched to Nginx instead of Apache.
mmm…What happens when the session expires?
There’s two expiries at play here: the token as issued by the IdP, and the WebDirect session itself.
If the user is idle and lets the WebDirect session expire then they can log back in without having to reauthenticate at the IdP provided that their auth token is still valid. That token is managed by the browser and typically expires after an hour. Where as the WebDirect session expiry is managed by you at the FileMaker Server level.
Once the IdP token expires, nothing happens to the user’s WebDirect session until exit out of the WebDirect solution. When they do and they want to log back in, the browser will detect that they do not have a valid IdP token anymore and will take them to the IdP to authenticate before they can get back into WebDirect.
Great article, can Facebook be used as a provider?
Thanks, and Yes. Most Identity Providers support delegating/federating authentication to social platforms like Facebook, LinkedIn…