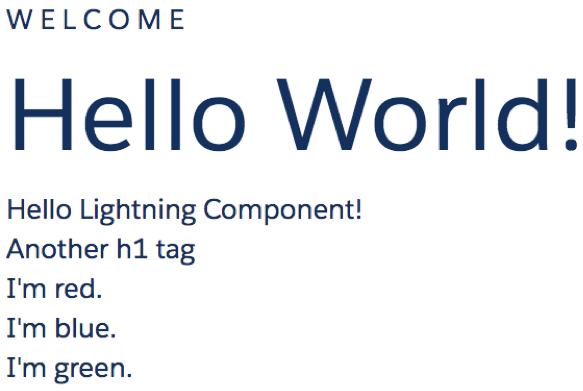
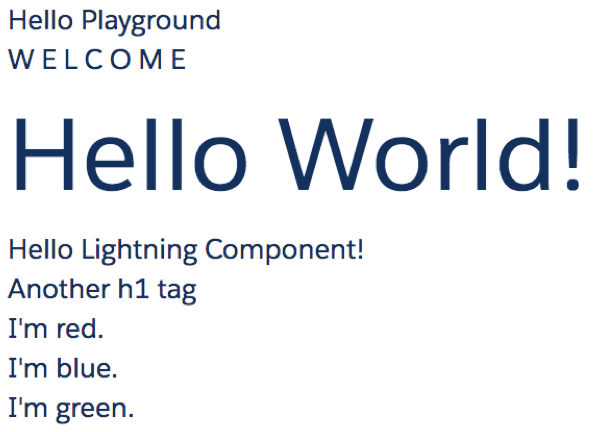
Start off by creating a couple new Lightning components and a Lightning app to hold them. I just used a couple of Lightning components I previously created when learning how to create them. helloWorld.cmp (see Figure 1) and helloPlayground.cmp (see Figure 2). I then added an app to hold them called ‘harnessApp.app’.
helloWorld.cmp
helloPlayground.cmp

Notice the ‘xtends=”ltng:outApp”’ in the above app. What this does, is says that this app can be hosted outside of lightning but will continue to use the Salesforce Lightning Design System (SLDS) styling. You can instead choose to not use the SLDS styling if you use ‘ltng:outAppUnstyled’ instead.
<aura:application extends="ltng:outApp">
    <c:helloWorld />
    <c:helloPlayground />
</aura:application>
In my VF page, we have a special include for Lighting with:
<apex:includeLightning />We also need to create a section of the code for the Lightning components to appear in, so a simple one here is:
<div id="lightning" />It looks empty, but we will see to that with some javascript later.
$Lightning.use("c:harnessApp", function(){});Here we use the new app that I created. If you run your page at this point, nothing will happen. The page requires you to manually tell components where to appear. Notice the ‘c:’ in the expression. This refers to the default namespace. If your org has a different namespace than the default, you will need to change the ‘c’ portion to whatever that is.
Inside the function that we just created, we add some more lines:
$Lightning.createComponent("c:HelloWorld", {}, "lightning", function(cmp){});This actually reveals the Lightning component and places it inside the div with the id of ‘lightning’. Also, you will notice that it only shows one of the components at this point. To add in the next component is pretty simple:
$Lightning.createComponent("c: helloPlayground", {}, "lightning", function(cmp){});If you run it again, you can see both apps now running!
NOTE: There might be a slight delay on the components showing up since they are revealed via JavaScript that needs to execute.
Looking at Figure 3, you might notice that the ‘Hello World’ is under the ‘Hello Playground’ even though the javascript above adds in hello world first. I could have added them to their own components to control more of where they show up, but when you add new components to be shown to the page, they will prepend the new Lightning component in front of the others.
I made an adjustment to my page so that each one has their own div and I can control better where they show.
<apex:page >
<apex:includeLightning />
<div id="helloWorld" />
<div id="helloPlayground" />
<img src="data:image/gif;base64,R0lGODlhAQABAIAAAAAAAP///yH5BAEAAAAALAAAAAABAAEAAAIBRAA7" data-wp-preserve="%3Cscript%3E%0A%09%09%24Lightning.use(%22c%3AharnessApp%22%2C%20function()%0A%09%09%7B%0A%09%09%09%24Lightning.createComponent(%22c%3AHelloWorld%22%2C%0A%09%09%09%7B%7D%2C%20helloWorld%22%2C%20function(cmp)%7B%7D)%3B%0A%09%09%09%24Lightning.createComponent(%22c%3AhelloPlayground%22%2C%0A%09%09%09%7B%7D%2C%20%E2%80%9ChelloPlayground%22%2C%20function(cmp)%7B%7D)%3B%0A%09%09%7D)%3B%0A%09%3C%2Fscript%3E" data-mce-resize="false" data-mce-placeholder="1" class="mce-object" width="20" height="20" alt="&lt;script&gt;" title="&lt;script&gt;" />
</apex:page>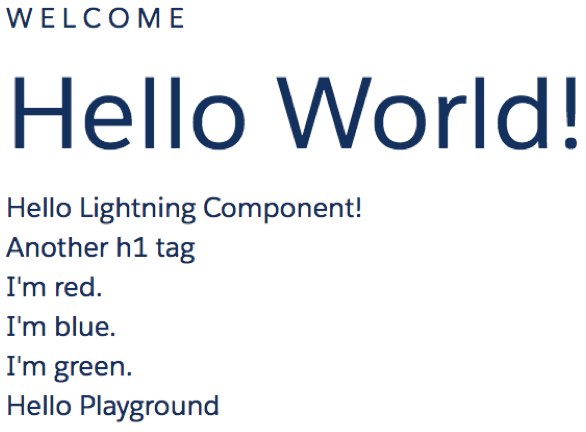
Need Help with a Lightning Component?
Are you envisioning your Visualforce pages with a new added Lightning component? My team and I may be able to help you. Either ask us in a comment below or contact us directly.